現代多功能印表機普遍具備掃描功能,Windows 7 內建「Windows 掃描與傳真」可直接驅動。以下為從放置原稿到儲存檔案的完整流程。
掃描操作步驟
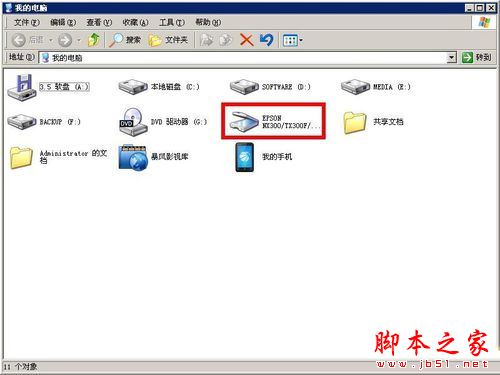
- 開啟掃描蓋板放置原稿,開啟「電腦」找到掃描裝置圖示(類似光碟機圖示),雙擊開啟。
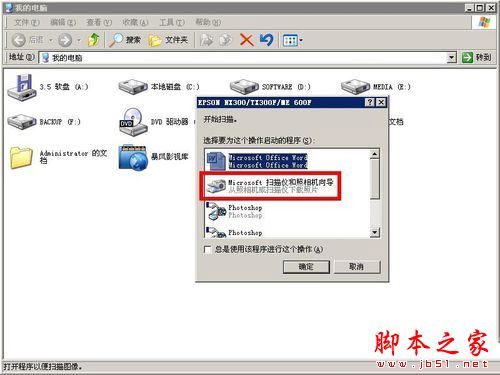
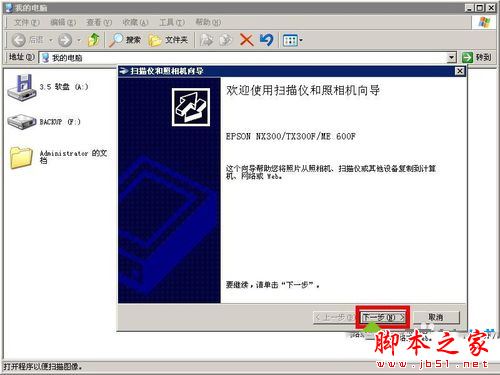
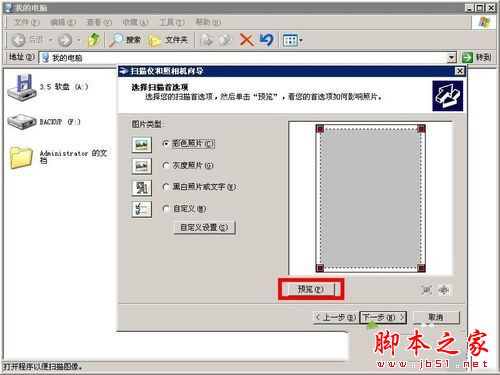
- 選擇「掃描儀和照相機精靈」,連點「下一步」進入預覽介面。
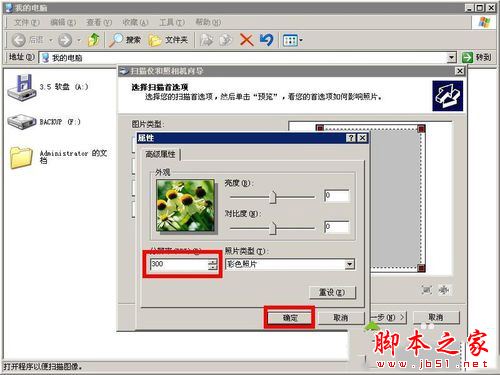
- 點選「預覽」調整掃描範圍,點選「自訂設定」將解析度設為 300 DPI(平衡品質與檔案大小)。
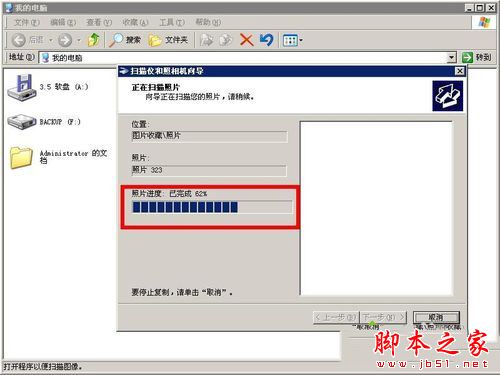
- 確定後點選「下一步」開始掃描,進度條跑至 100% 即完成。
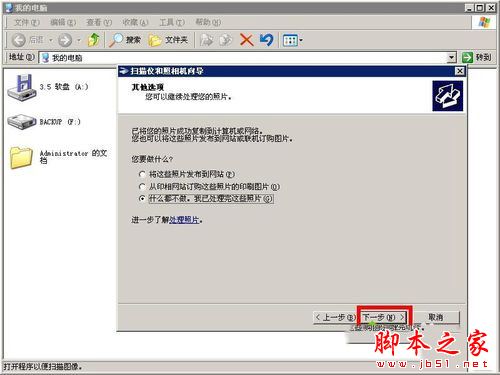
- 精靈詢問後續動作,選擇「什麼都不做,我已處理完這些照片」→「下一步」→「完成」,自動開啟儲存資料夾。
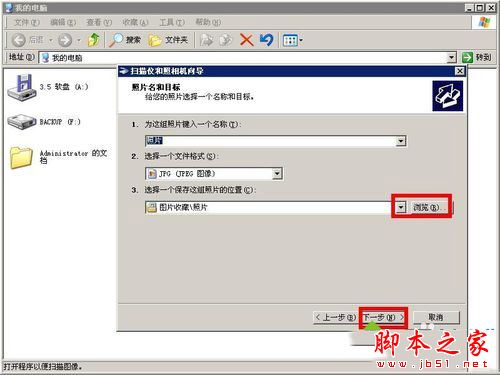
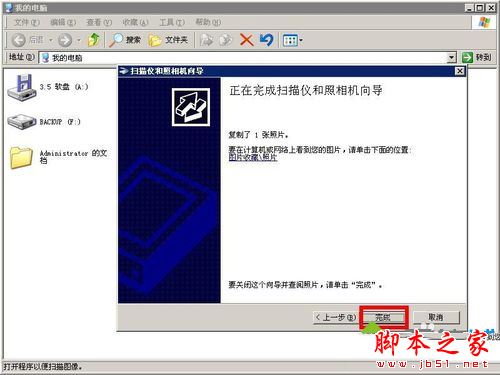
掃描完成的檔案預設儲存於「我的文件/掃描的文件」資料夾,可自行移動整理。