Windows 10 預設啟用「自動維護」(軟體更新、安全掃描、診斷等),會在閒置時佔用 CPU/磁碟資源。若想關閉,可透過登錄編輯器停用。
regedit。HKEY_LOCAL_MACHINE\SOFTWARE\Microsoft\Windows NT\CurrentVersion\Schedule\Maintenance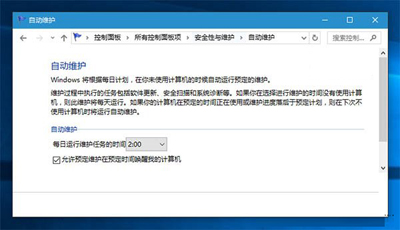
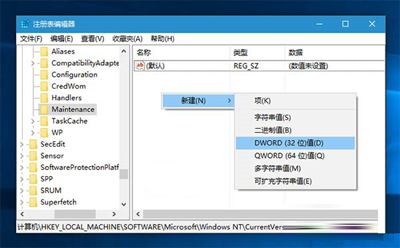
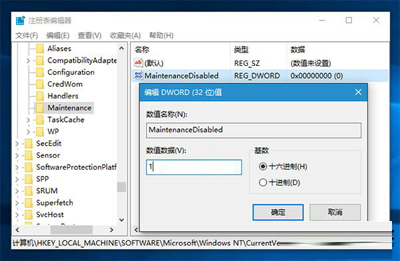
將 MaintenanceDisabled 改為 0 或刪除該值,重開機即可。
Win10 UWP 版 Skype 預覽更新 11.8.202.0:效能提升與 Lumia 950/950 XL/550/650 優化
Win10 吉吉影音雙擊無反應、閃退?兩種方法移除 KB3132372 更新修復
Windows 8 高級啟動選單遺失「自動修復」:三條命令列指令快速恢復
微軟承認 Win10/Win8.1 應用商店購買安裝出現錯誤,建議用戶重試操作以解決問題
Windows右键菜单添加“管理员权限”两法:注册表/优化软件一键搞定
Win10 提示遺失 xinput1_3.dll 怎麼辦?安裝 DirectX 執行階段庫解決