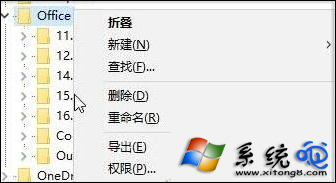
Windows 10 安裝 Microsoft Office 失敗、卡住或報錯,常因前版 Office 解除安裝不乾淨,登錄檔殘留設定衝突。刪除使用者登錄檔 HKEY_CURRENT_USER\Software\Microsoft\Office 節點,可徹底清除殘留設定,恢復乾淨安裝環境。
regedit 開啟登錄編輯器。HKEY_CURRENT_USER\Software\Microsoft\Office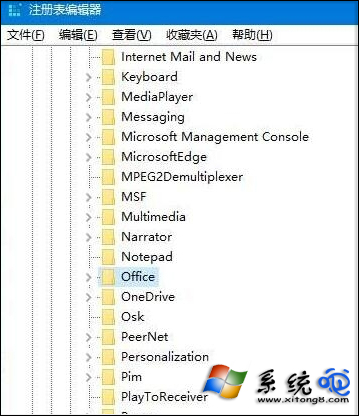
進階清理:若仍失敗,建議使用 Microsoft 官方「Office 解除安裝支援工具」 (Easy Fix / SetupProd_OffScrub) 徹底移除所有 Office 元件與登錄檔,再重新安裝。或考慮全新安裝 Windows 10 後再裝 Office,避免系統層面殘留干擾。
Win10 桌面背景變黑無法更換?開啟「顯示 Windows 背景」即刻修復
Win7 右鍵桌面彈出 igfxsrvc.exe 視窗且變慢?刪除登錄 ContextMenuHandlers 修復
Win10 音量無法調節、系統圖示音量灰色?註冊表修復 systray.exe 啟動項即可解決
Windows 10 關閉 Windows SmartScreen 篩選器:三步驟停用應用聲譽防護
Win7/Win8.1 偵測不到 KB30355583 升級補丁?官方下載連結直鏈 + GWX.exe 手動安裝解決
Win10 內建螢幕錄影 (Xbox Game Bar) 完整使用教學:啟動、儲存、設定與進階技巧