Windows XP Windows 7 Windows 2003 Windows Vista Windows 綜合教學 Linux 系統教學
Windows 10 Windows 8 Windows 2008 Windows NT Windows Server 電腦軟體教學
您现在的位置: Windows教程網 >> Windows教程 >  >> Windows 綜合教學 >> 關於 Windows

Win10 TH2 (1511) 更新後藍屏循環?SFC/DISM/SFCFix 三階修復法

編輯:關於 Windows

Win10 1511 (Build 10586) 透過 Windows Update 或 NVIDIA GeForce Experience 更新顯卡驅動後,導致 opencl.dll 元件損壞,觸發核心資料完整性檢查失敗,進而引發 BSOD 藍屏循環。本文提供「確認現象 → 修復方案」完整流程,從內建工具到第三方修復工具逐層遞進。

根因分析

更新後的顯卡驅動包含新版 opencl.dll,但 Win10 TH2 無法正確記錄該元件更新,導致系統核心偵測到關鍵程式碼損壞,觸發 CRITICAL_STRUCTURE_CORRUPTION 或類似藍屏代碼。
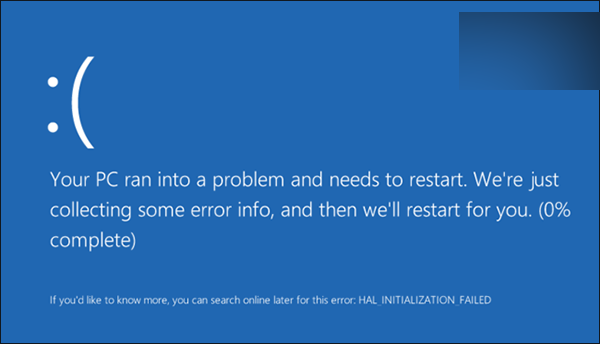
階段一:藍屏現象確認(診斷是否為 opencl.dll 損壞)

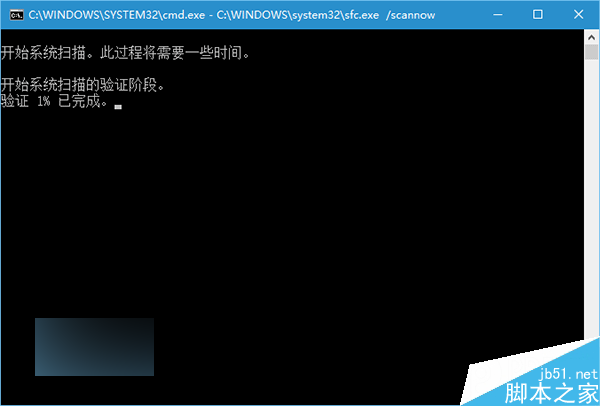
方法 1:SFC 掃描

  1. 右鍵開始按鈕 → 「命令提示字元 (系統管理員)」或「Windows PowerShell (系統管理員)」。
  2. 執行 sfc /scannow。
  3. 若提示「Windows 資源保護找到損壞檔案但無法修復部分檔案」,執行:
    copy %windir%\logs\cbs\cbs.log "%userprofile%\Desktop\cbs.txt"
  4. 開啟桌面 cbs.txt,搜尋 opencl.dll 並確認含 source file in store is also corrupted 字樣 → 屬此類藍屏。
方法 2:DISM 掃描(更深層映像修復)

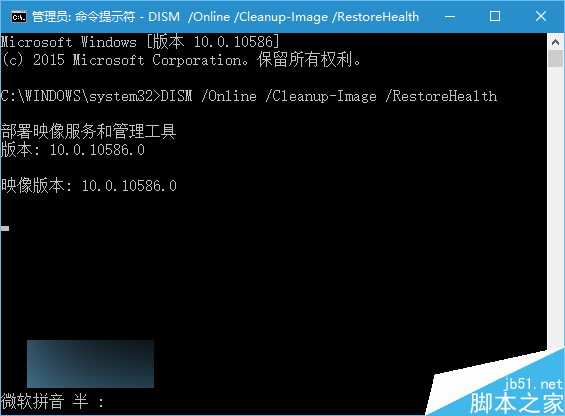
  1. 管理員終端機執行:DISM /Online /Cleanup-Image /RestoreHealth。
  2. 掃描完成後檢視 C:\Windows\Logs\CBS\CBS.log 或 C:\Windows\Logs\DISM\DISM.log,搜尋 CSI Payload Corrupt 並包含 opencl.dll 路徑且 Repair failed: Missing replacement payload → 確認屬此問題。
階段二:藍屏解決方案(使用 SFCFix 替換損壞元件)

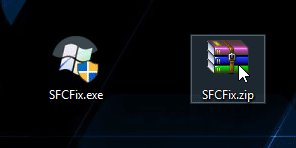
  1. 下載 SFCFix.exe 與對應 SFCFix.zip(含修復腳本與健康 opencl.dll)至桌面。
  2. 將 SFCFix.zip 拖曳到 SFCFix.exe 圖示上,程式自動執行修復腳本。
  3. 完成後桌面生成 SFCFix.txt,若含 directive completed successfully → 修復成功。
  4. 重複階段一 SFC/DISM 掃描驗證無錯誤,重開機測試藍屏是否消失。

替代方案:手動取得健康 opencl.dll

  • 從同版本 (10586) 正常電腦複製 C:\Windows\System32\opencl.dll 及 C:\Windows\SysWOW64\opencl.dll 覆蓋(需取得 TrustedInstaller 權限)。
  • 或從 Windows 10 1511 ISO 中用 7-Zip 提取 install.wim 內對應檔案。

預防建議

  • 顯卡驅動優先從裝置製造商官網 (NVIDIA/AMD/Intel) 下載完整安裝包,避免 GeForce Experience/Windows Update 推送的精簡驅動缺失元件。
  • 建立還原點後再更新驅動,出問題可秒回滾。
  • 微軟後續累積更新 (KB3124200 等) 已修正此問題,保持系統更新至最新版。
Copyright © Windows教程網 All Rights Reserved