Win10 移除「視窗顏色與外觀」進階設定,調整桌面圖示水平/垂直間距需修改登錄。以下為操作步驟:
修改步驟
- Win+R →
regedit。
- 展開:
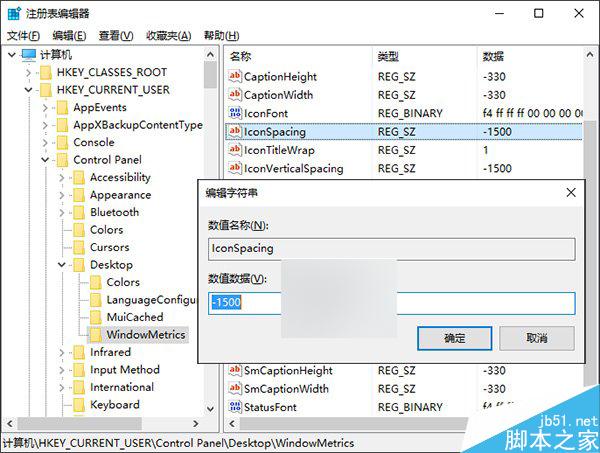
HKEY_CURRENT_USER\Control Panel\Desktop\WindowMetrics。
- 水平間距:修改
IconSpacing 字串值。
公式:值 = -15 × 期望像素間距。
預設 -1125 = 75px。若欲設 100px → -1500。
- 垂直間距:修改
IconVerticalSpacing 字串值,公式相同。
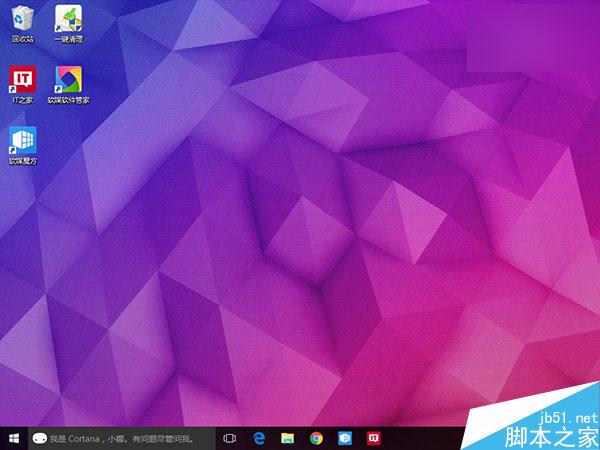
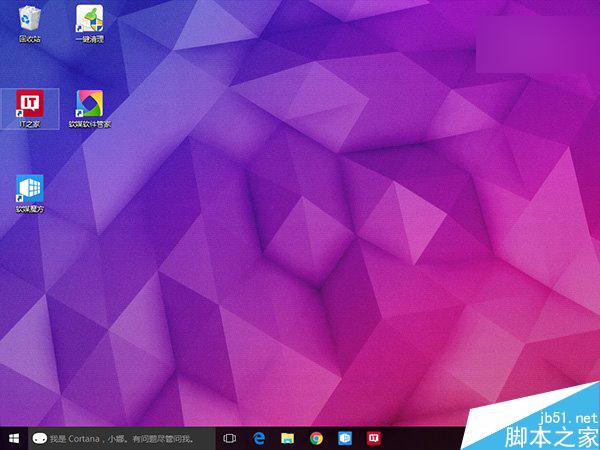
- 登出並重新登入生效。
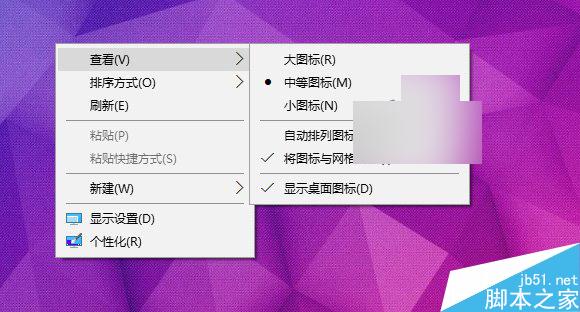
- 桌面右鍵 → 「檢視」→ 取消勾選再勾選「將圖示對齊到方格」強制重新排列。
適用場景
- 觸控裝置:加大間距 (如 100-120px) 利於手指點選。
- 高解析度螢幕:適度加大間距避免圖示過擁擠。
- 習慣緊湊佈局:縮小間距 (如 60px) 容納更多圖示。
注意
- 修改登錄前建議備份
WindowMetrics 鍵值 (右鍵匯出)。
- 間距過大可能導致圖示超出螢幕可見區域,請適度調整。