Windows 8 登入畫面(鎖定畫面/密碼輸入介面)DPI 獨立於使用者設定,預設 96 DPI 在高解析度螢幕 (1920x1080 以上) 文字過小。透過登錄機碼 LogPixels 可將登入畫面 DPI 與目前使用者設定同步。
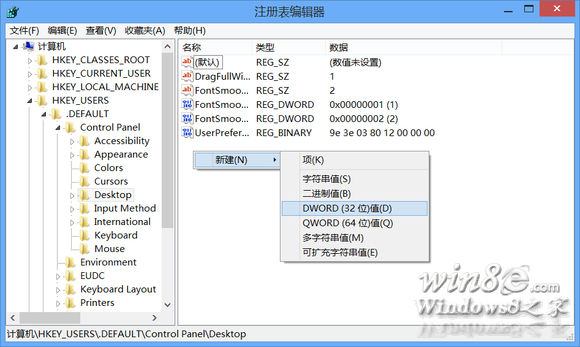
regedit,定位 HKEY_CURRENT_USER\Control Panel\Desktop,找到 LogPixels (DWORD),複製其值(例:0x78)。HKEY_USERS\.DEFAULT\Control Panel\Desktop,新建 DWORD LogPixels,值貼上剛複製的數值(0x78)。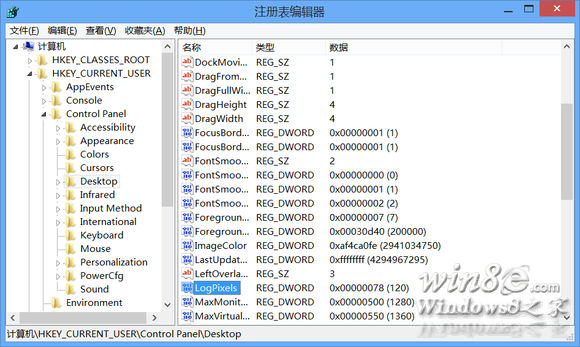
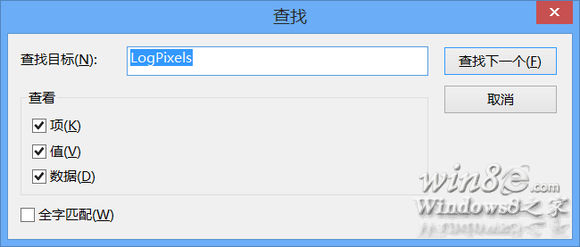
在登錄編輯器搜尋 LogPixels,將所有值 ≥ 0x60 (96 DPI) 的機碼修改為目標值(如 0x78),包含 HKEY_USERS\S-1-5-21-...\Control Panel\Desktop 各使用者 SID,新建使用者將繼承 .DEFAULT 範本自動套用。
將所有 LogPixels ≥ 0x60 的值改回 0x60 (96 DPI) 即可。
Windows 8 / 8.1 / 10 / 11、Windows Server 2012 / 2012 R2 / 2016 / 2019、Windows 7 / Server 2008 R2。