Windows XP Windows 7 Windows 2003 Windows Vista Windows 綜合教學 Linux 系統教學
Windows 10 Windows 8 Windows 2008 Windows NT Windows Server 電腦軟體教學

Android-x86 與 Windows 8.1 雙系統安裝教學:使用 UltraISO 製作 USB 開機碟與分區設定

編輯:Win8 系統應用技巧

前置準備

  • USB 隨身碟、電腦、Android-x86 ISO、UltraISO 軟體。

製作 USB 開機碟

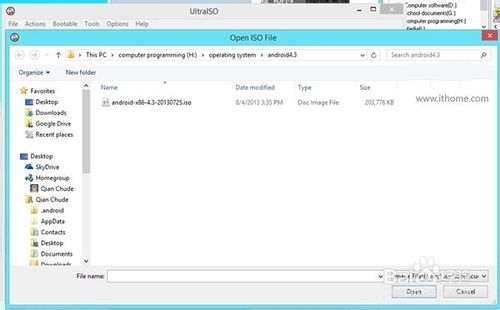
  1. 開啟 UltraISO →「檔案」→「開啟」選擇 Android-x86 ISO。
  2. UltraISO 開啟 ISO 選擇寫入硬碟映像
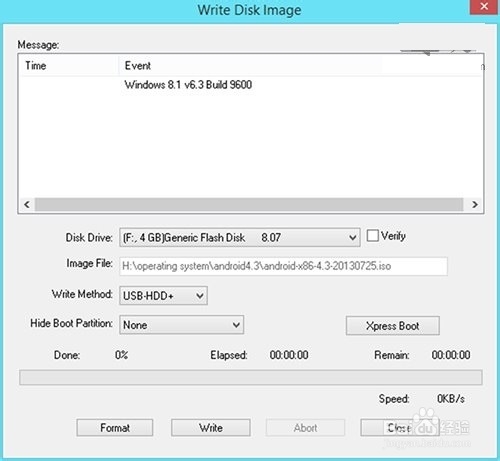
  3. 「啟動」→「寫入硬碟映像」→ 依圖設定 (USB-HDD+、格式化、寫入)。
  4. 寫入設定 寫入完成

BIOS 設定 USB 優先啟動

進入 BIOS 將 USB 設為第一啟動序,重開機進入 Android-x86 安裝選單。
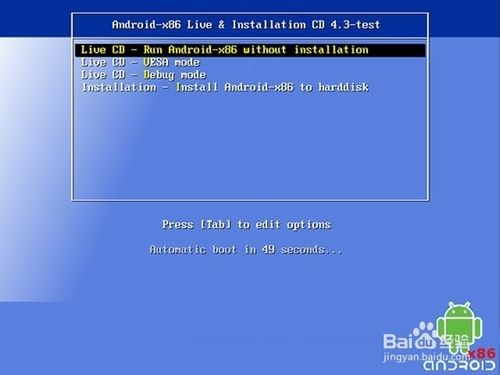
BIOS 設定

安裝 Android-x86 至硬碟 (雙系統)

  1. 選單選擇「Installation - Install Android-x86 to harddisk」。
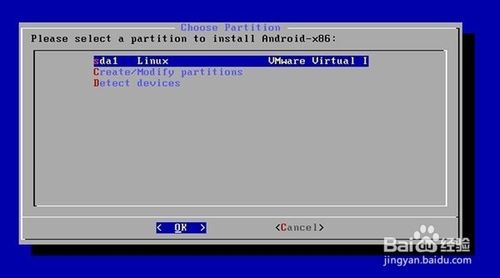
  2. 建立分區
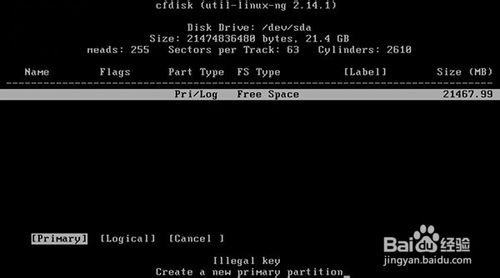
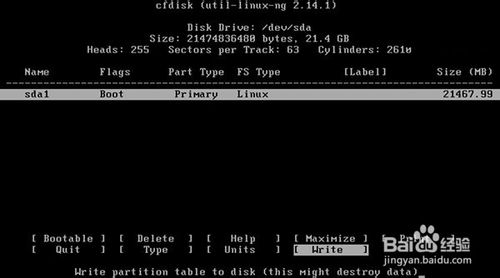
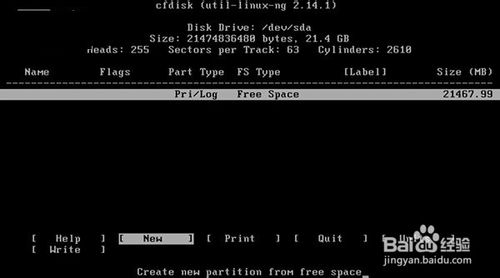
  3. 選擇「Create/Modify partitions」進入 cfdisk 分區工具。
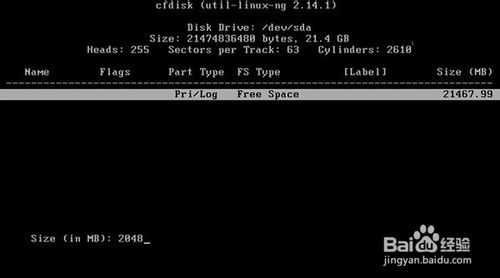
    - 新建主分區 (Primary),輸入大小 (MB)。
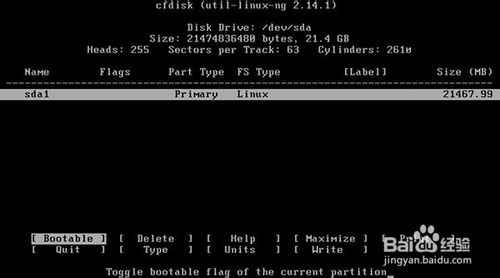
    - 設定為「Bootable」可啟動。
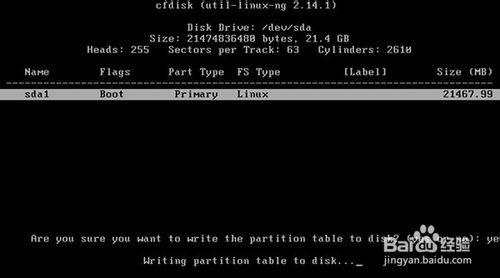
    - 選擇「Write」→ 輸入 yes 確認寫入分區表。
  4. cfdisk 介面 設為主分區 輸入分區大小 設為可啟動 Write 寫入 確認 yes
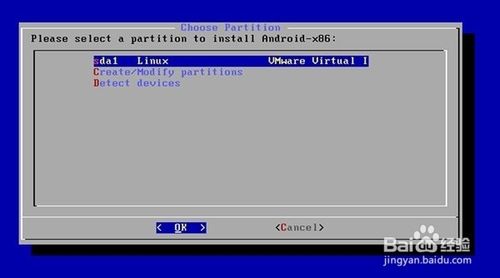
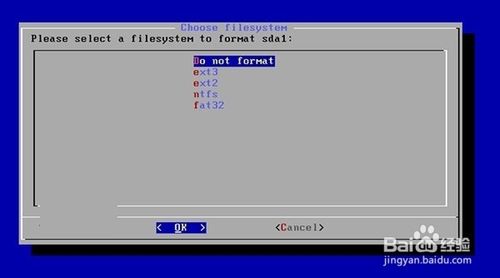
  5. 返回分區選擇畫面,選擇新建分區 (如 sda1),檔案系統選 EXT3 (最佳相容性)。
  6. 選擇分區 不格式化 選擇 EXT3
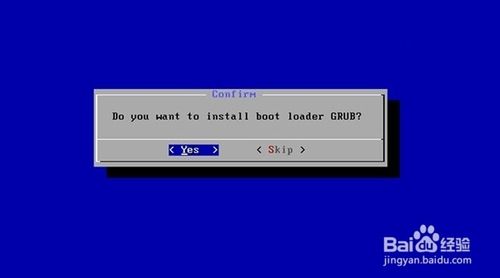
  7. 安裝 GRUB 開機載入程式 →「Yes」。
  8. 安裝 GRUB
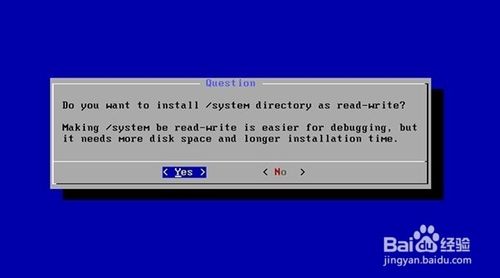
  9. 設定 /system 目錄可讀寫 →「Yes」 (方便除錯,佔用少量空間)。
  10. system 可讀寫

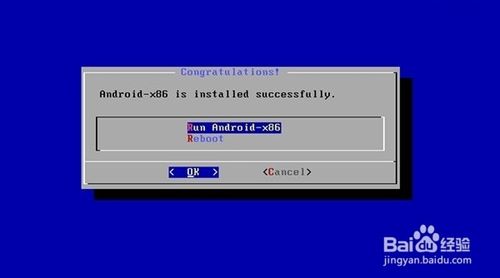
完成

重開機即可從 GRUB 選單選擇啟動 Windows 8.1 或 Android-x86。注意:GPT 磁碟可能無法再分區,需使用現有分區;安裝於 Windows 系統碟時選擇不格式化。

Copyright © Windows教程網 All Rights Reserved