Windows XP Windows 7 Windows 2003 Windows Vista Windows 綜合教學 Linux 系統教學
Windows 10 Windows 8 Windows 2008 Windows NT Windows Server 電腦軟體教學

Win7 WinSxS 資料夾佔空間大?移至其他分區釋放 C 槽容量

編輯:Win7 系統應用技巧

Windows 7 的 C:\Windows\WinSxS 資料夾會隨著更新、安裝軟體不斷膨脹,動輒佔用數 GB 甚至幾十 GB,導致系統磁碟空間緊張。雖然微軟強調此資料夾不可刪除(否則系統可能無法啟動),但我們可以透過「符號連結」將其移至其他分區,騰出 C 槽空間並保持系統正常運作。

前置準備

  • 從微軟官網下載 PendMoves 與 MoveFile 工具,解壓至 C:\Windows\System32。
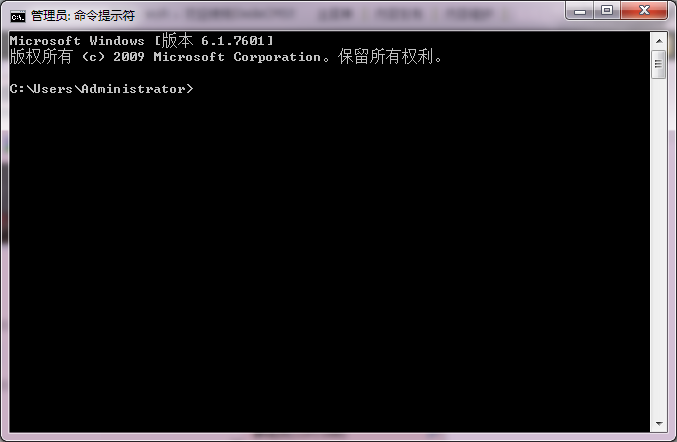
  • 以系統管理員身分開啟命令提示字元(Win+X → 命令提示字元(系統管理員))。

操作步驟

  1. 建立暫時連結:在 CMD 中執行:
    cd \windows
    mklink /X winsxs.link winsxs.moved
    
  2. 取得 WinSxS 完整控制權:在檔案總管中右鍵 WinSxS → 內容 → 安全性 → 進階 → 擁有者 → 編輯 → 選 Administrators → 勾選「取代子容器與物件的擁有者」→ 確定。
  3. 重命名與移動:在 CMD 執行:
    movefile C:\Windows\winsxs C:\Windows\winsxs.moved
    movefile C:\Windows\winsxs.link C:\Windows\winsxs
    
    重新開機後,將 C:\Windows\winsxs.moved 內所有內容複製到目標分區(如 D:\Windows\winsxs)。
  4. 建立正式符號連結並清理:再次以管理員身分開啟 CMD:
    cd \windows
    rmdir winsxs
    mklink /X winsxs D:\windows\winsxs
    
    重開機確認系統正常後,刪除 C:\Windows\winsxs.moved 資料夾。

提醒:操作前請務必備份重要資料。若誤刪 WinSxS,可用安裝光碟啟動修復模式執行 sfc /scannow 修復系統檔案。

Copyright © Windows教程網 All Rights Reserved