Windows 7 安裝虛擬機再跑一個 Windows 7:Hyper-V / Virtual PC 完整建置教學
編輯:Win7 系統應用技巧
聽過 Windows 7 跑 XP Mode,但其實 Windows 7 也能跑 Windows 7!透過內建 Windows Virtual PC 或啟用 Hyper-V (專業版/企業版/旗艦版),即可在主系統建立獨立的客體 Windows 7 環境,適合測試軟體、隔離風險或多版本共存。以下以 Virtual PC 為例示範完整建置流程。
建立虛擬機步驟
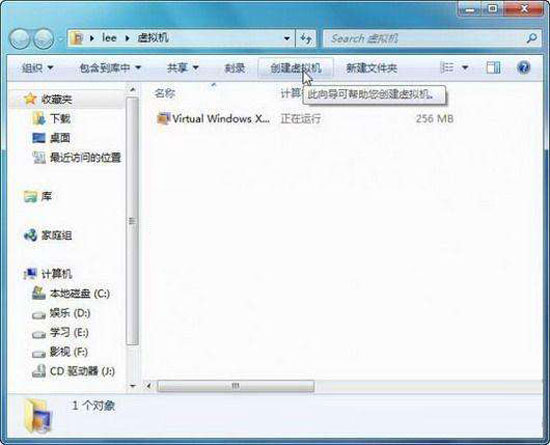
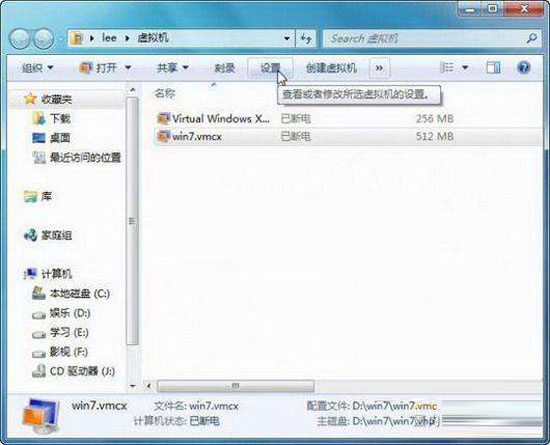
開啟「Windows Virtual PC」→ 工具列「建立虛擬機器」。
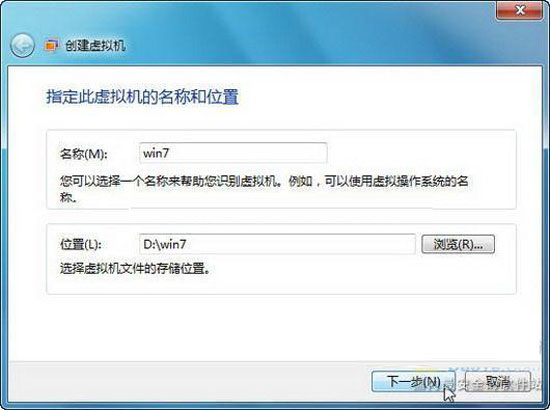
指定虛擬機名稱與儲存位置。
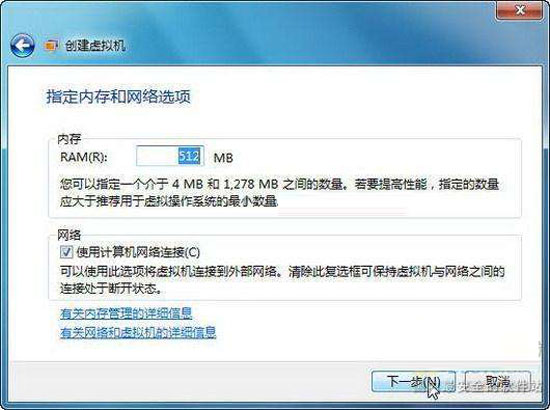
記憶體建議 512 MB 以上 (視主機體實體記憶體而定),勾選「使用電腦網路連線」。
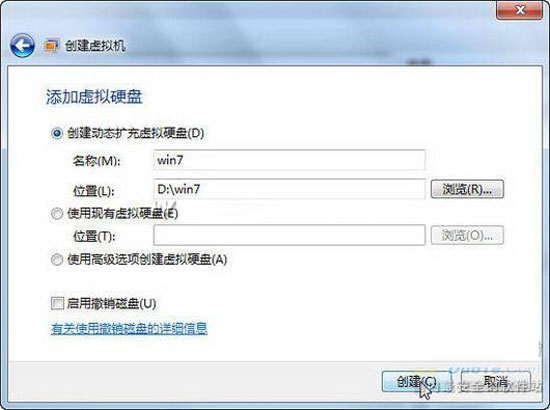
虛擬硬碟選「建立動態擴充虛擬硬碟」,指定名稱、位置、大小 (建議 20 GB 以上)。
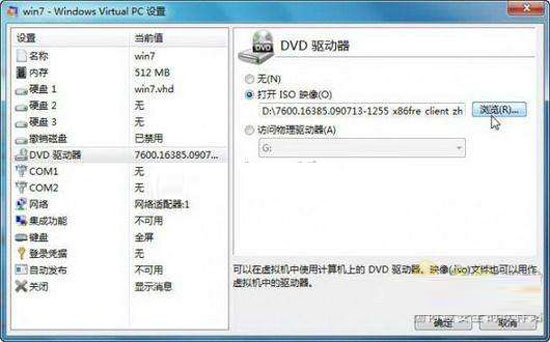
建立完成後,點工具列「設定」→「DVD 磁碟機」→ 掛載 Windows 7 安裝映像檔 (ISO)。
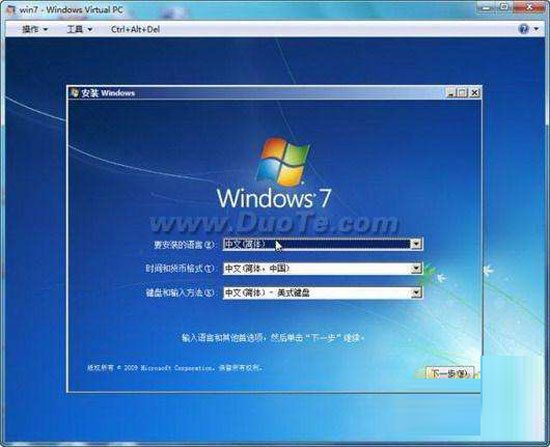
啟動虛擬機,依正常安裝流程安裝 Windows 7。
虛擬機內的 Windows 7 需另行授權啟用。若主機為專業版以上,建議改用效能更佳的 Hyper-V。善用虛擬機,讓一台電腦擁有多套獨立系統環境。