Win7 調整螢幕解析度完整圖解
Windows 7 調整解析度與 XP 類似,但介面更直覺。無論是筆電外接螢幕、桌機換顯示器,或是單純想讓字體更清晰,跟著下列步驟操作即可。
圖文操作步驟
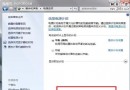
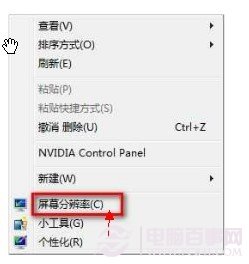
- 在桌面空白處 右鍵 → 選擇 「螢幕解析度」。
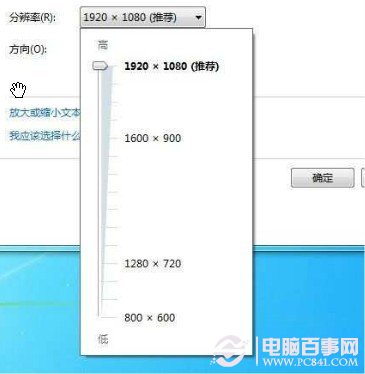
- 在「解析度」下拉選單拖動滑桿,選擇適合的解析度(建議選標示 「建議」 的原生解析度)。
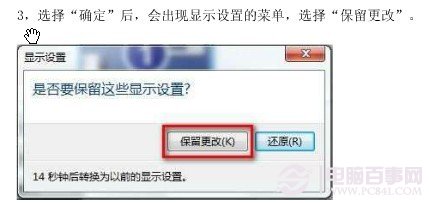
- 點擊 「套用」 → 系統預覽 15 秒 → 確認無誤點 「保留變更」,否則會自動還原。
常見問題快問快答
- 畫面模糊、字體發虛? → 請務必選擇標示「建議」的原生解析度。
- 外接螢幕沒畫面? → 按 Win + P 切換投影模式(複製/延伸/僅第二螢幕)。
- 想自訂文字大小(DPI)? → 在解析度視窗左側點「讓文字和其他項目較大或較小」。