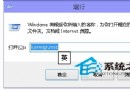
Win7/8.1 升級 Win10 過程中出現 0x800704C7,通常為 Windows Update 元件快取損壞或第三方啟動項干擾。標準重置流程:停止服務 → 刪除 SoftwareDistribution\Download 與 DataStore → 重啟服務 → 停用所有第三方啟動項 → 重新開機 → 再試升級。
services.msc → 找到 Windows Update (wuauserv) → 右鍵 停止。C:\Windows\SoftwareDistribution → 刪除 Download 與 DataStore 兩個資料夾 (需管理員權限)。services.msc → 右鍵 Windows Update → 啟動。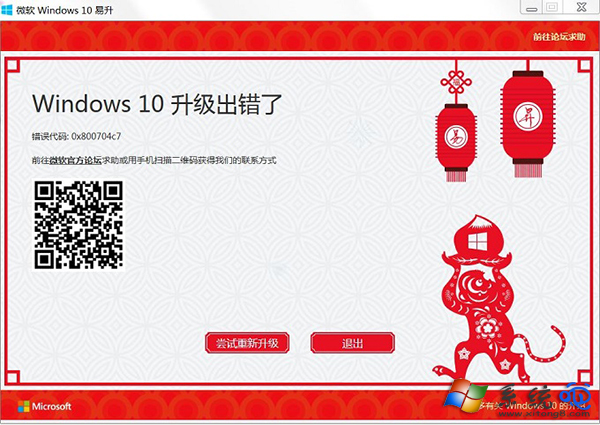
Stop-Service wuauserv -Force
Remove-Item -Recurse -Force C:\Windows\SoftwareDistribution\Download, C:\Windows\SoftwareDistribution\DataStore
Start-Service wuauserv
# 停用第三方啟動項需手動在工作管理員操作或使用 Autoruns 工具
Write-Host "請重新開機後再試升級" -ForegroundColor GreenDISM /Online /Cleanup-Image /RestoreHealth 修復元件存儲。sfc /scannow 修復系統檔案。setup.exe 選擇「保留個人檔案與應用程式」升級,繞過 WU 管道。依序執行「停服務、清快取、啟服務、停啟動項、重開機」標準重置流程,可解決 90% 以上的 Win10 升級錯誤 0x800704C7。