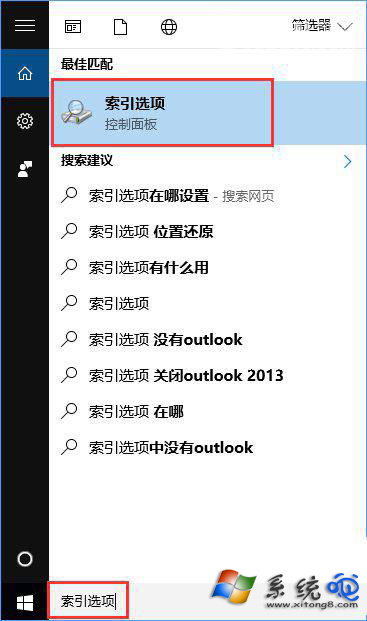
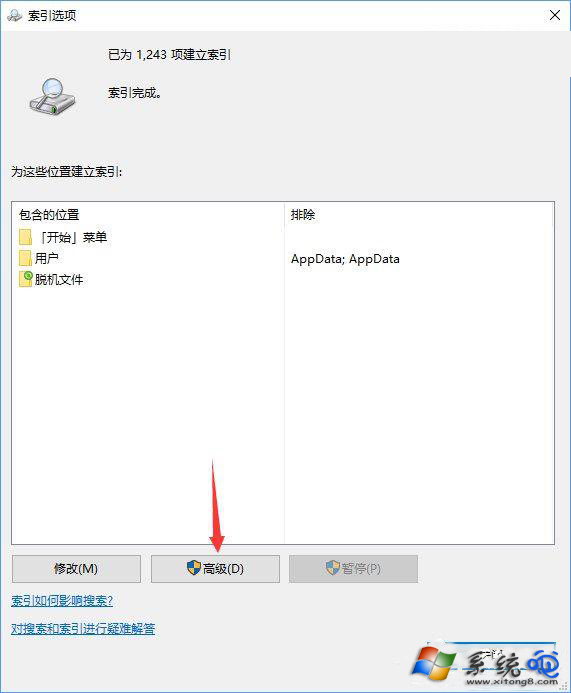
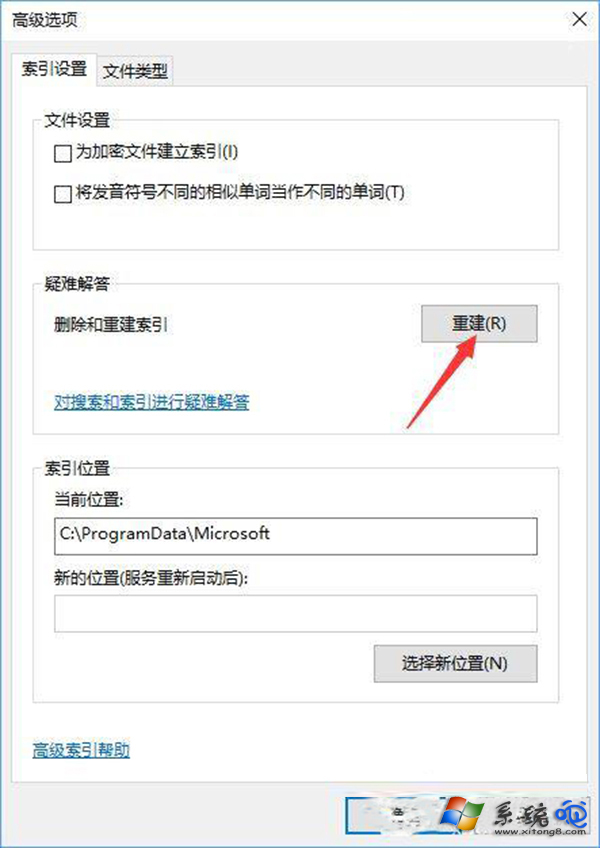
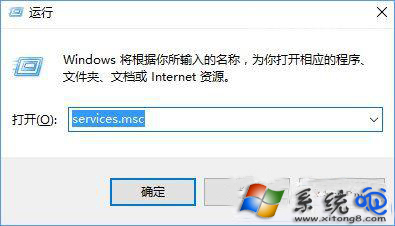
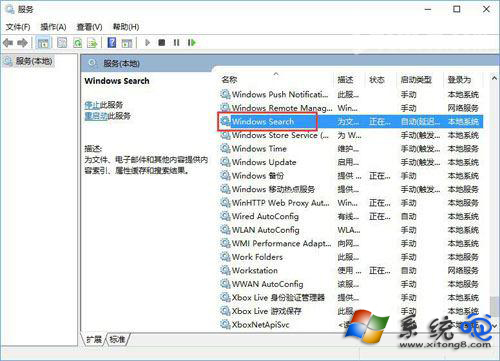
Windows Search 索引服務雖能加快檔案搜尋速度,但會持續佔用 CPU、磁碟 I/O,導致機械硬碟電腦明顯變慢。若您習慣整理檔案或使用第三方搜尋工具(如 Everything),建議徹底關閉索引服務以釋放資源。
services.msc
完成後,工作列搜尋列仍可使用,但僅能搜尋開始選單捷徑、設定項目,無法搜尋檔案內容。若需恢復,將服務改回「自動」並啟動即可。
Win10 如何管理與刪除 Windows 憑證?認證管理器操作教學
Win10 啟用 Continuum 模式全新開始畫面:登錄解鎖
實測 Windows 10 相容性:主流輸入法與瀏覽器測試報告
Win 10 桌面右下角彈窗廣告怎麼關?msconfig 停用啟動項或 360 修復
Win 10 偵測不到更新、無法升級新版本?重命名 SoftwareDistribution 資料夾修復
Windows 10 螢幕截圖快捷鍵完整教學:PrtSc、Alt+PrtSc、QQ 截圖
Win10 桌面背景無法顯示、壁紙載入失敗?修改登錄 Shell 值修復
Windows 10 Modern 介面啟用高對比度模式教學 (輕鬆存取功能)