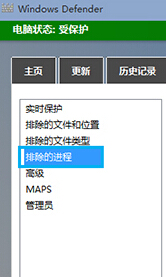
Windows Defender 內建即時防護會掃描所有程序,若某些受信任應用程式(如開發工具、遊戲)被誤判或掃描導致卡頓,可將其加入排除清單。
排除程序設定步驟
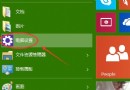
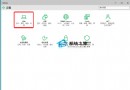
- 按 Win 搜尋「Windows Defender」並開啟(或透過「設定」→「更新與安全性」→「Windows 安全性」進入)。
- 點選【病毒與威脅防護設定】→ 捲動至【排除項目】→ 【新增或移除排除項目】。
- 選擇【新增排除項目】→ 【程序】,瀏覽並選取該程式的
.exe 執行檔(如 devenv.exe、chrome.exe)。
- 按下【開啟】完成新增,該程序未來將不被 Defender 掃描。
提醒:僅排除確信安全的程式,避免降低系統防護能力。