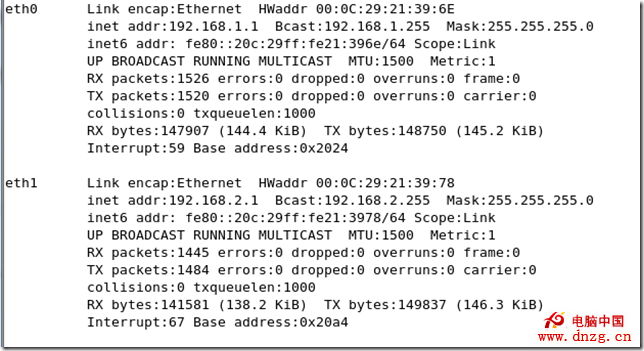
eth0=192.168.1.1、eth1=192.168.2.1,開啟 echo 1 > /proc/sys/net/ipv4/ip_forward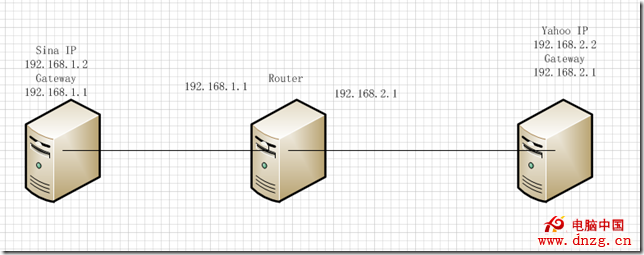
yum -y install bind-*echo "" > /etc/resolv.conf(本機不指向上游)/var/named/chroot/etc/named.conf 定義 sina.com、yahoo.com 兩個 zone,類型 master,區域檔分別為 sina.com.zone、yahoo.com.zone。cp /usr/share/doc/bind-9.3.6/sample/var/named/localhost.zone ... 修改區域檔:mail IN A 192.168.2.2、@ IN MX 10 mailmail IN A 192.168.1.2、@ IN MX 10 mail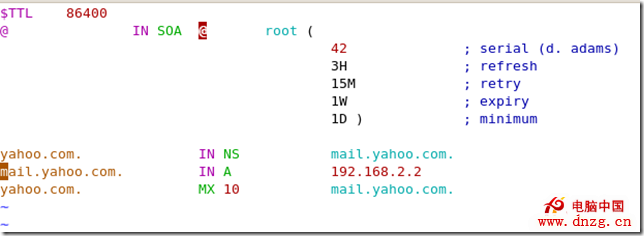
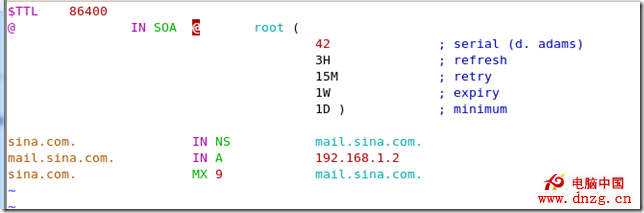
service named restart,用 dig 驗證解析正確。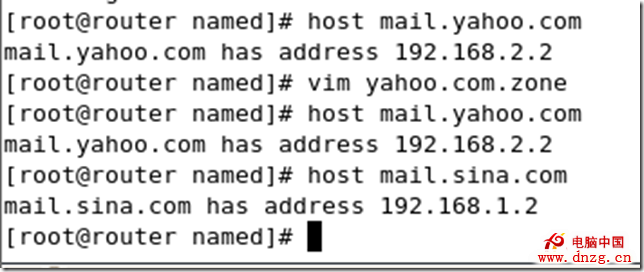
/etc/resolv.conf 指向 nameserver 192.168.1.1,host mail.sina.com 解析正常。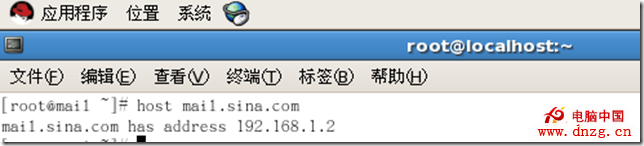
route add -net 192.168.2.0/24 gw 192.168.1.1service sendmail stop && chkconfig sendmail offyum -y install postfix,編輯 /etc/postfix/main.cf:myhostname = mail.sina.commydomain = sina.commyorigin = $mydomaininet_interfaces = allmydestination = $myhostname, $mydomainmynetworks = 192.168.1.0/24, 192.168.2.0, 127.0.0.0/8relay_domains = sina.com, yahoo.comsmtpd_sasl_auth_enable = yessmtpd_sasl_local_domain = ''smtpd_recipient_restrictions = permit_mynetworks, permit_sasl_authenticated, reject_unauth_destinationbroken_sasl_auth_clients = yessmtpd_client_restrictions = permit_sasl_authenticatedsmtpd_sasl_security_options = noanonymous/etc/sysconfig/saslauthd:MECH=shadow。建立用戶 sina 設密碼,啟動 saslauthd,testsaslauthd -u sina -p 'abc-123' 回傳 OK。service postfix restart,telnet localhost 25 測試回應 250 碼。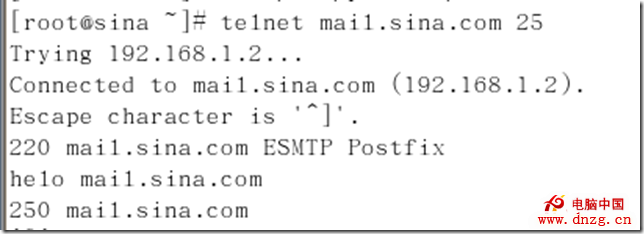
yum -y install dovecot,修改 /etc/dovecot.conf 啟用 pop3/pop3s 協定、監聽埠(頂格寫入)。重啟服務。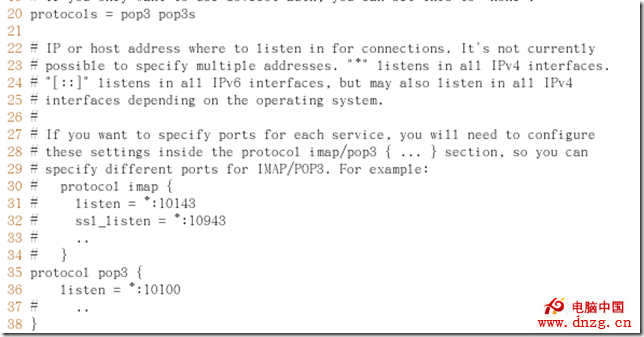
mailbox_transport = lmtp:unix:/var/lib/imap/socket/lmtp 取消註釋。安裝 cyrus-imapd cyrus-imapd-devel,設定 cyrus 用戶密碼,啟動服務。用 cyradm -u cyrus localhost 進入後台建立 sina 郵箱用戶。
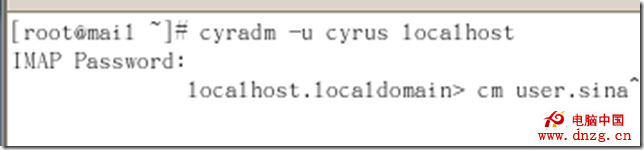
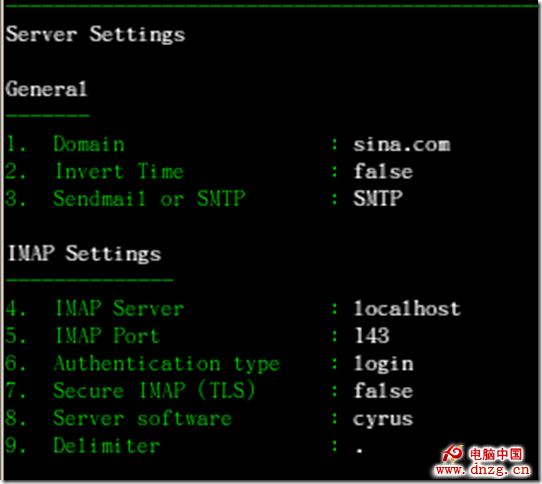
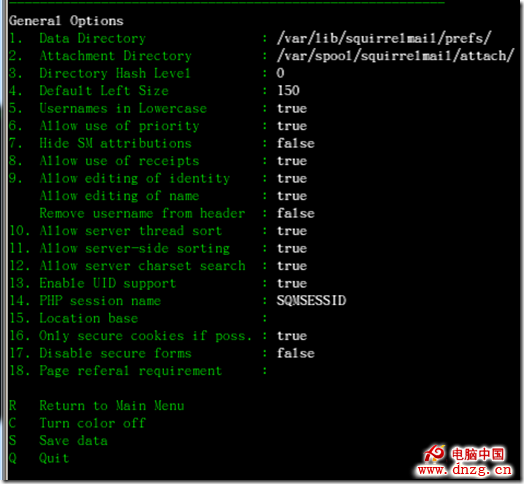
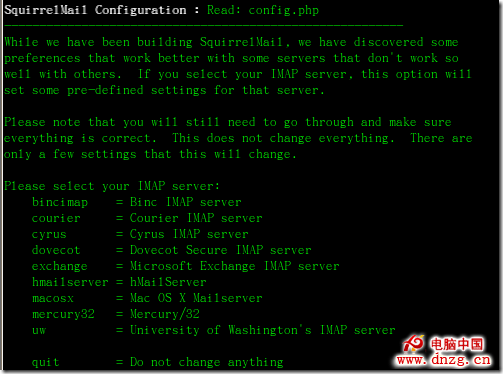
yum -y install squirrelmail,執行 /usr/share/squirrelmail/config/conf.pl 設定:Server 選 Cyrus、General Options 啟用大小寫忽略、預設 IMAP Server 選 Cyrus。啟動 httpd。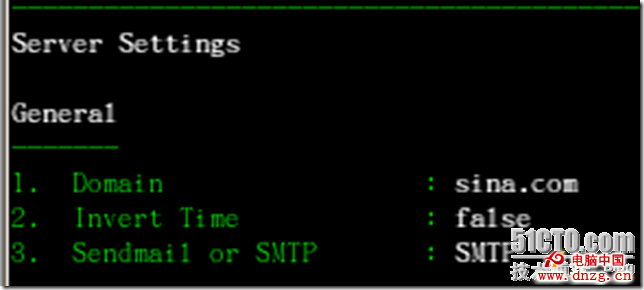
https://mail.sina.com/webmail/ 登入測試自寄信成功。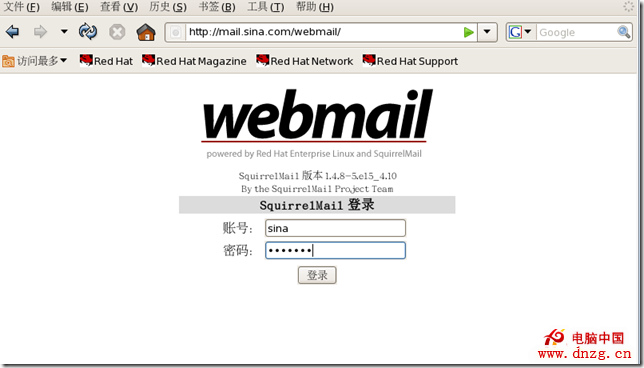
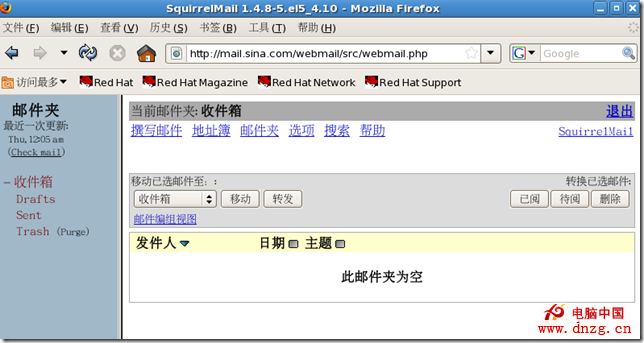
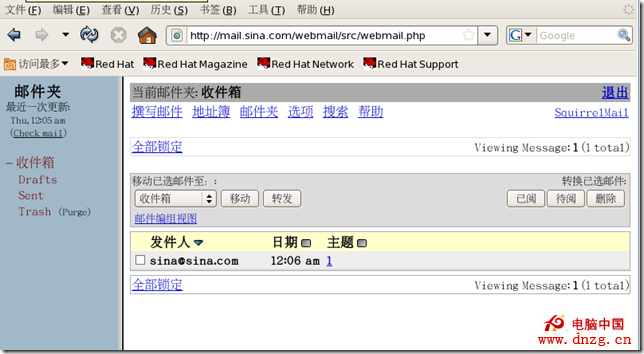
步驟與 Sina 同,差異:
- /etc/resolv.conf 指向 nameserver 192.168.2.1
- Cyrus 建立用戶 yahoo
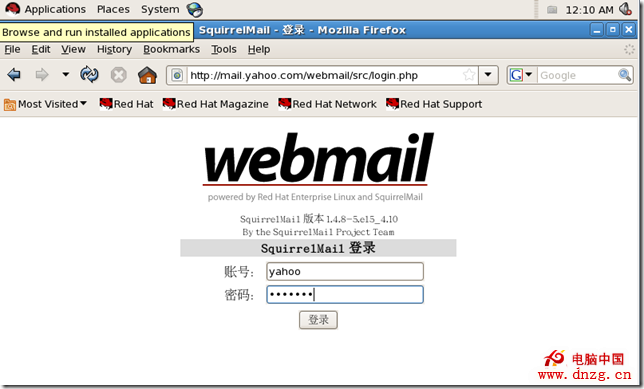
sina@sina.com → Sina Webmail 收到。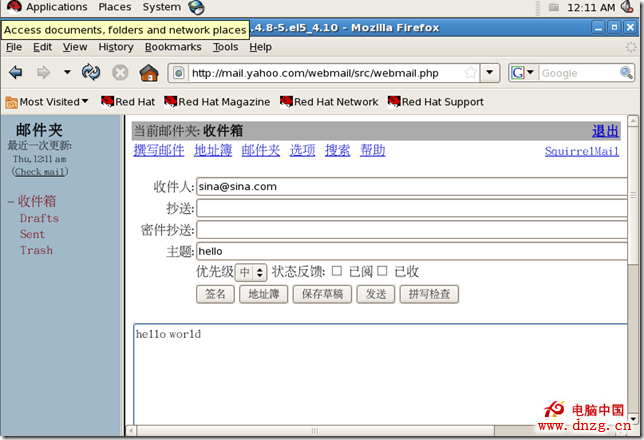
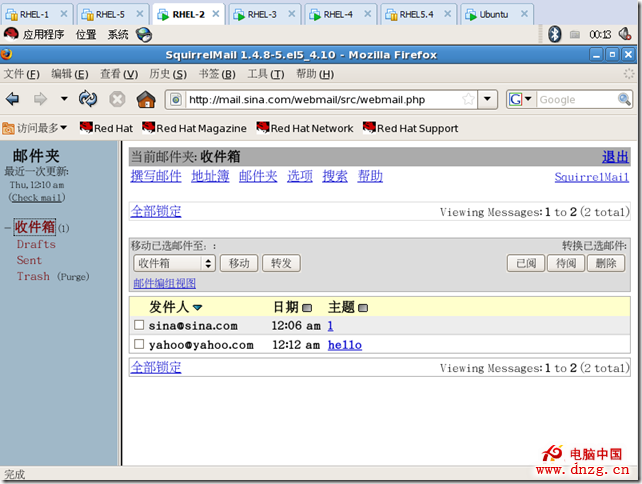
yahoo@yahoo.com → Yahoo Webmail 收到回覆。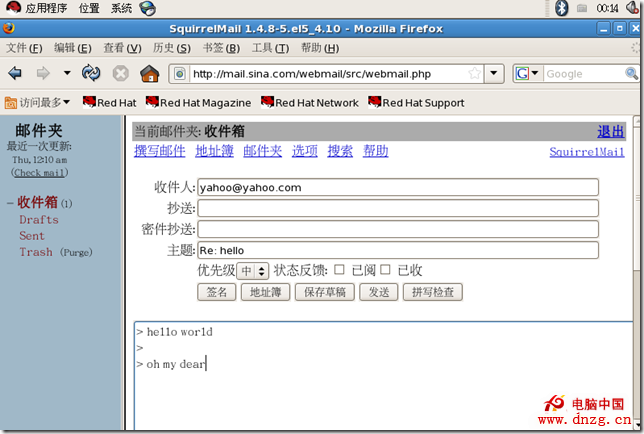
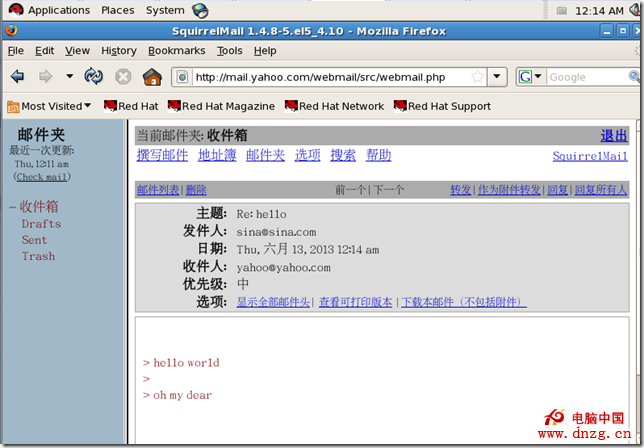
實驗成功! 缺點:每新增郵箱用戶需在系統建立帳號,後續可優化為虛擬用戶方案。
文章來源:https://yushantao.blog.51cto.com/975462/1220927#560270