Windows XP Windows 7 Windows 2003 Windows Vista Windows 綜合教學 Linux 系統教學
Windows 10 Windows 8 Windows 2008 Windows NT Windows Server 電腦軟體教學
您现在的位置: Windows教程網 >> Windows教程 >  >> Windows 綜合教學 >> 關於 Windows

ESD 轉 WIM/ISO 完整工具教學:esd-decrypter-v4c 一鍵批次處理,附下載連結

編輯:關於 Windows

微軟官方下載的 .esd 映像經過加密,無法直接掛載或轉換。本文詳解 ESD Decrypter (esd-decrypter-v4c) 工具完整使用流程:解密 → 分別應用各索引映像 → 重捕獲為 boot.wim/install.wim → 打包 ISO。過程繁瑕但工具已內建批次檔自動化,只需一條指令。

核心步驟解析

  1. DISM 查看 ESD 索引:確認 1~4 號索引對應內容(1=系統其他檔案、2/3=boot.wim 兩索引、4=install.wim)。
  2. 解密 ESD:管理員 CMD 執行 esddecrypt.exe install.esd,直接修改原檔(建議先備份)。
  3. DISM 應用/捕獲:
    應用:dism /Apply-Image /ImageFile:xxx.esd /Index:4 /ApplyDir:G:\
    捕獲:dism /Capture-Image /ImageFile:install.wim /Compress:max /CaptureDir:G:\ /Name:"build9860" /CheckIntegrity /Verify
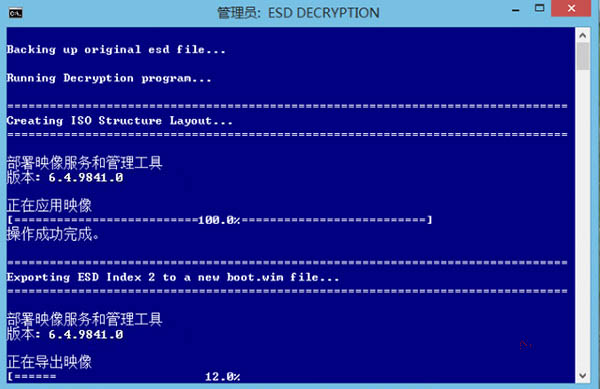
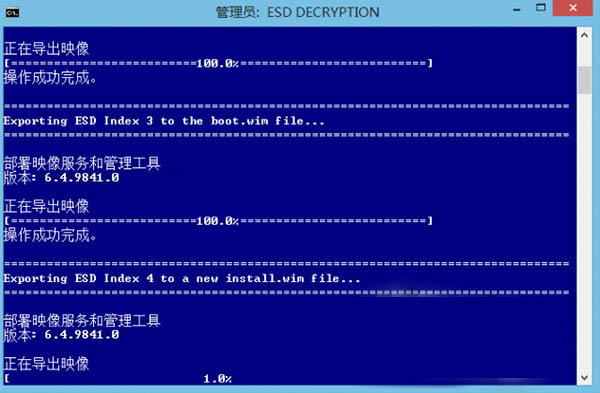
  4. 批次檔一鍵法:下載 esd-decrypter-v4c,將 ESD 放入目錄,管理員 CMD 執行 decrypt.cmd → 輸入 4 → 等待產生完整 ISO。

工具下載

esd-decrypter-v4c (7z, 1.4 MB):https://pan.baidu.com/s/1o6BMOfo
工具介面1
▲ esd-decrypter 介面

工具介面2
▲ 批次處理選項

工具介面3
▲ 產生 ISO 完成

注意事項

  • 解密會直接修改原 ESD 檔,操作前請備份。
  • 捕獲/打包過程極度耗時(視 CPU/磁碟速度 30 分鐘~數小時),需足夠耐心與磁碟空間。
  • 產生的 ISO 為完整安裝映像,可用 Rufus 燒錄 USB 安裝。
Copyright © Windows教程網 All Rights Reserved