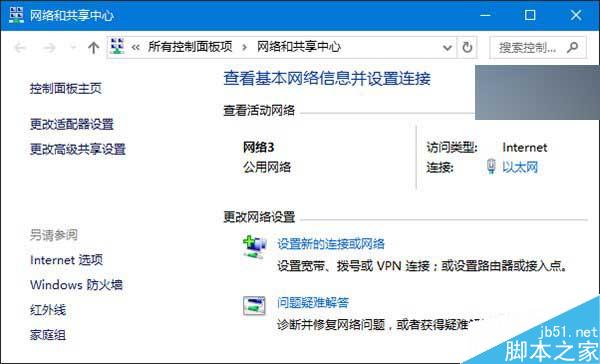
Win7 可在「網路和共用中心」直接點擊網路圖示重命名,Win10 移除此介面,導致無法修改「網路 2、網路 3...」等自動產生的名稱,也無法刪除遺留設定檔。透過登錄表編輯 ProfileName 鍵值即可自訂名稱或刪除多餘設定檔。
⚠ 操作前請先建立還原點 (參考《Win10 如何建立還原點與系統還原完全攻略》)。
HKEY_LOCAL_MACHINE\SOFTWARE\Microsoft\Windows NT\CurrentVersion\NetworkList\Profiles\
regedit 開啟登錄編輯器。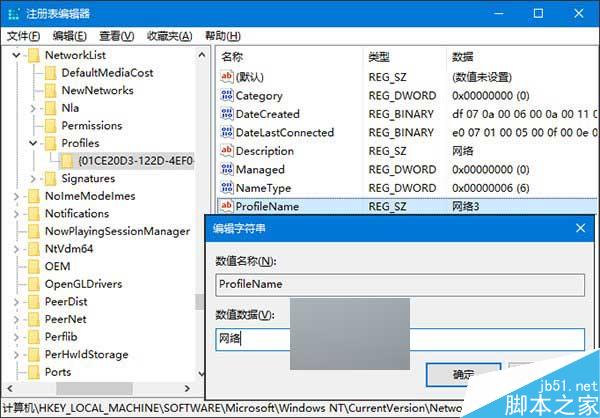
ProfileName 對應目標網路 → 右鍵該子機碼 → 刪除。修改即時生效,無需重開機。網路名稱雖不影響功能,但整理乾淨可避免數字遞增混淆,強迫症福音。
Win7 如何開啟路由器管理頁面?常見無法登入原因與五大解決方案
Win10 使用 .reg 註冊檔來源檔案新增/修改註冊鍵值完整教學:右鍵選單加入記事本、顯示隱藏檔、移動硬碟盤符、桌面圖示修復等實用範例
32 位元 Win7 vs 64 位元 Win7 如何選擇?六大差異詳解:記憶體支援、CPU 架構、相容性、資源佔用、硬碟空間
Win10 如何查看 DX 版本?升級 DX12 需顯卡支援完整教學
Win10 Build 10049 登錄編輯器新增同名機碼快速跳轉功能
Windows 10 無法關機/重開機?四種替代關機方法快速解決