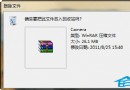
現象
檔案總管中圖片/影片縮圖顯示錯誤、破損、或完全不顯示(預設圖示)。主因通常是 **縮圖快取資料庫損毀**。
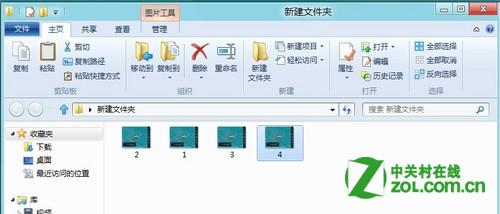 縮圖顯示錯亂/缺失
方法一:磁碟清理工具(GUI、最簡單)
- 開始畫面搜尋 磁碟清理 (Win8 Metro 直接輸入關鍵字)。
- 選擇系統磁碟 (通常 C:) → 確定。
- 在「要刪除的檔案」清單勾選 縮圖 → 確定 → 確認刪除。
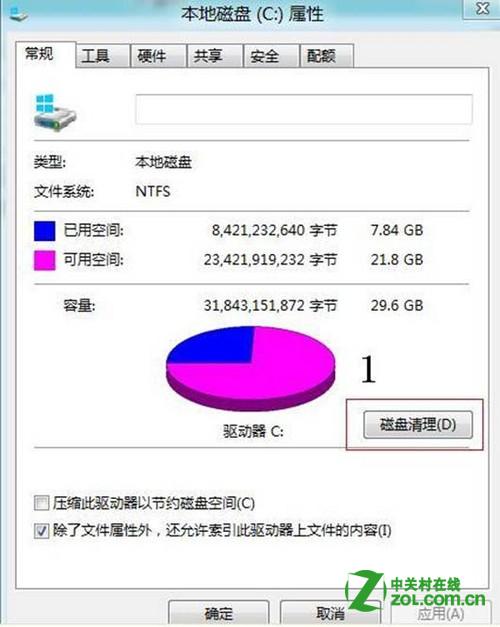 Metro 開始畫面直接搜尋「磁碟清理」
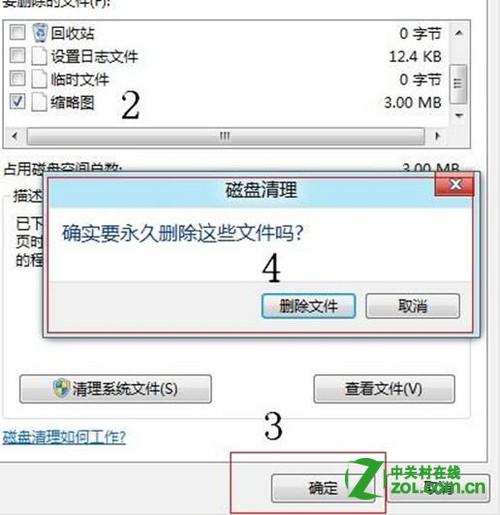 勾選「縮圖」並確定刪除
方法二:手動刪除 thumbcache 資料庫檔案(徹底、適用進階用戶)
- 檔案總管網址列輸入:
%USERPROFILE%\AppData\Local\Microsoft\Windows\Explorer → Enter。
- 找到並**全部刪除**以下 4 個檔案:
thumbcache_32.db
thumbcache_96.db
thumbcache_256.db
thumbcache_1024.db
(檔名尾數對應縮圖像素尺寸)。
- 重新開啟檔案總管,縮圖將自動重新產生。
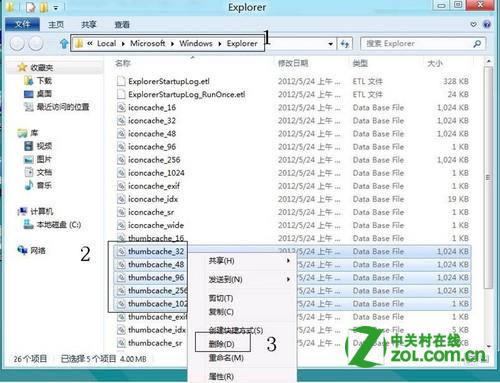 Explorer 縮圖快取資料夾:刪除 4 個 thumbcache_*.db
補充說明
- 刪除快取**不會刪除原始圖片/影片檔案**,僅移除索引資料庫。
- 若問題持續,檢查
HKCU\Software\Microsoft\Windows\CurrentVersion\Explorer\Advanced\DisableThumbnailCache 是否為 1(1=停用快取,建議改為 0)。
- 系統磁碟空間極低時也會導致縮圖無法產生,騰出空間後重試。