Windows XP Windows 7 Windows 2003 Windows Vista Windows 綜合教學 Linux 系統教學
Windows 10 Windows 8 Windows 2008 Windows NT Windows Server 電腦軟體教學

Windows 7 安裝 Microsoft Loopback Adapter (回環介面卡) 完整教學

編輯:Win7 系統基礎知識

虛擬網卡的正確安裝方式

Microsoft Loopback Adapter 是軟體模擬的虛擬網路介面卡,常用於無實體網卡環境測試、多宿主開發、VPN 實驗室等場景。Windows 7 移除傳統「新增硬體精靈」的手動安裝路徑,需使用 hdwwiz.exe 進階安裝。

安裝步驟

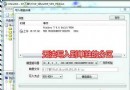
  1. 開始 → 搜尋框輸入 hdwwiz → 右鍵搜尋結果 → 以系統管理員身分執行。
  2. 「歡迎使用新增硬體精靈」→ 下一步 → 選擇 「從清單中選取我要安裝的硬體 (進階)」 → 下一步。
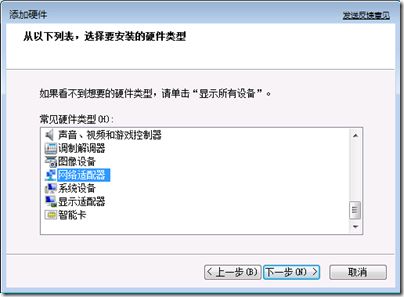
  3. 硬體類型選 「網路介面卡」 → 下一步。
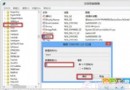
  4. 製造商選 Microsoft → 右側清單選 Microsoft KM-TEST Loopback Adapter(或 Microsoft Loopback Adapter)→ 下一步。
  5. 確認安裝 → 完成。

驗證安裝

  • 裝置管理員 → 網路介面卡 → 應出現「Microsoft KM-TEST Loopback Adapter」。
  • ipconfig /all 顯示新介面,預設自動取得 APIPA 位址 (169.254.x.x),可手動設定靜態 IP。
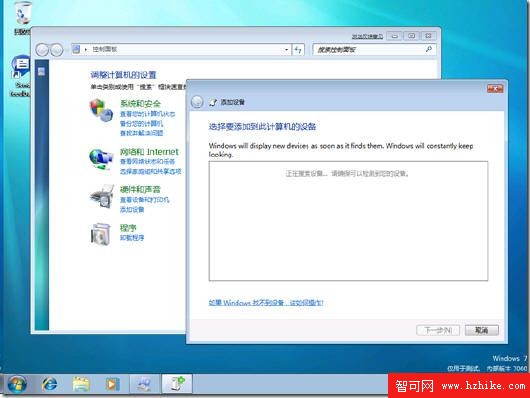
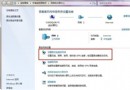
新增硬體精靈無手動選項

選擇從清單安裝進階模式

選擇 Microsoft Loopback Adapter

此法適用於 Windows 7 / 8 / 10 / Server 2008 R2 及更新版本,解決傳統精靈無法手動安裝虛擬裝置的問題。

Copyright © Windows教程網 All Rights Reserved