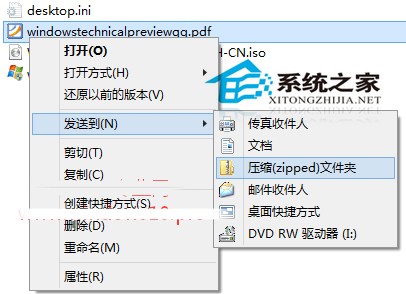
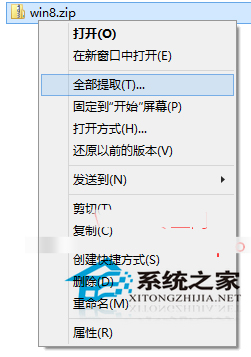
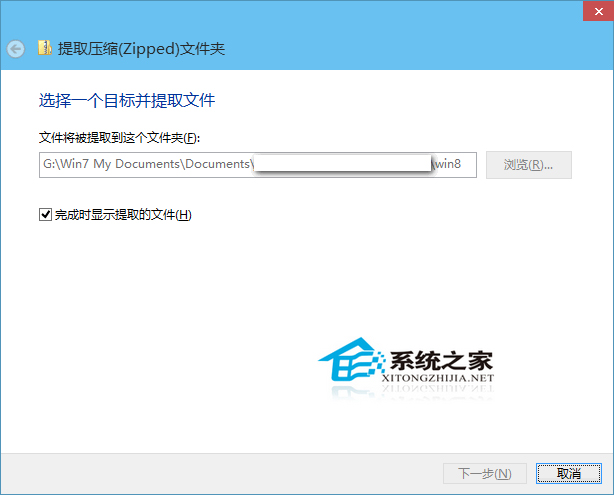
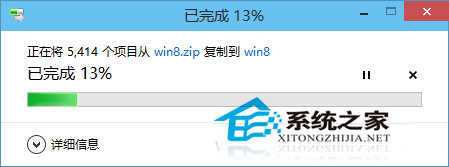
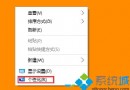
Windows 10 繼承內建 ZIP 壓縮功能,無需安裝 7-Zip、WinRAR 等第三方工具即可完成基本壓縮/解壓縮,支援資料夾拖曳式操作。
限制與建議:內建功能僅支援 ZIP 格式、無分卷壓縮、無加密密碼、壓縮率一般。需處理 RAR/7z、大檔分卷、AES 加密等進階需求,請改用 7-Zip (免費開源)、Bandizip、WinRAR 等專業工具。
Windows 10 正式版升級常見問題總整理:四大類錯誤代碼、驅動程式、應用程式與推播延遲完整對策
Win10 設定工作列單擊切換同一程式多視窗技巧
Win10 將秒錶釘選到「開始」菜單的快速方法
Windows 10 C 槽空間遞減原因與解決方案(完整版)
Win10 本機帳號切換微軟線上帳號:設定→帳戶→連線完整流程
Win10 正式版無法取得預覽版 (Insider)?降低 UAC 安全等級即可
Win10 設定預設瀏覽器完整教學:控制台「預設程式」、設定 App「預設應用程式」雙管道操作
Win10 無法關機、點關機卻重開機怎麼辦?關閉「快速啟動」並重新啟用徹底修復關機異常