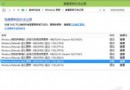
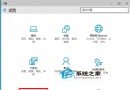
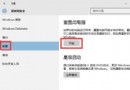
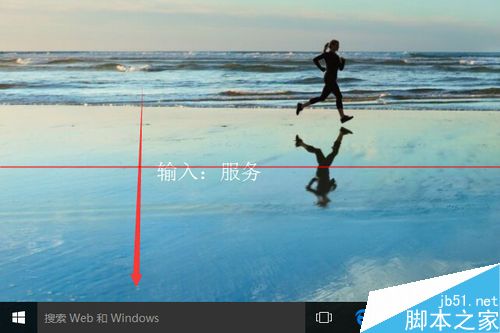
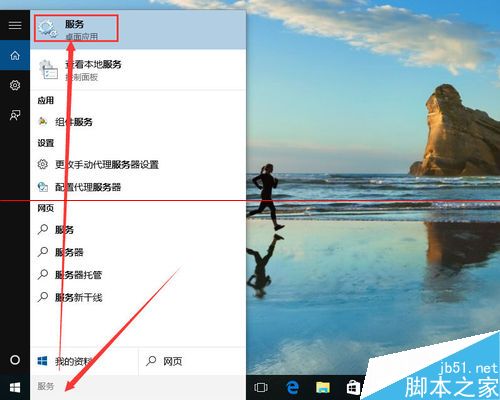
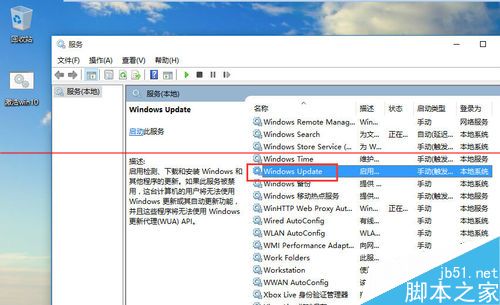
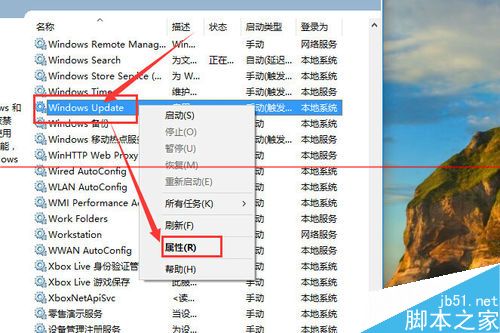
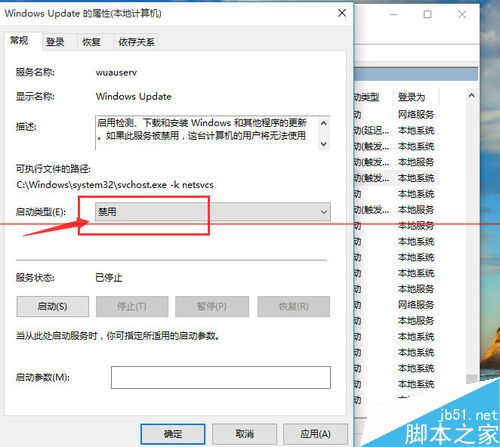
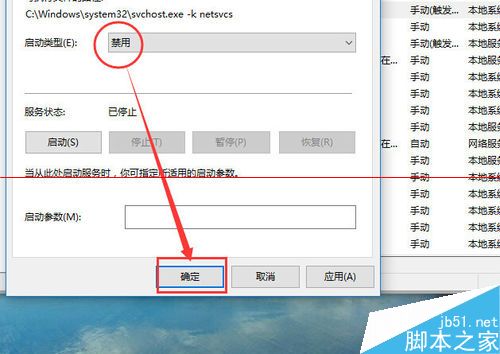
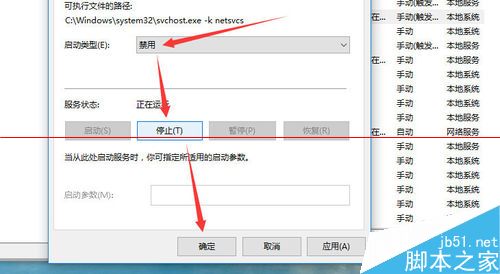
Windows 10 專業版可透過服務管理員徹底停用自動更新:
替代方案(保留安全性更新):
• 「設定」→「更新與安全性」→「進階選項」→ 勾選「延遲更新」(功能更新延遲 365 天、品質更新延遲 30 天)。
• 群組原則:gpedit.msc → 「電腦設定」→「系統管理範本」→「Windows 元件」→「Windows Update」→「指定內部網路 Microsoft 更新服務位置」→ 設為 127.0.0.1 導向本機阻擋更新。
⚠ 警告:長期停用更新將錯過安全性修補程式,暴露於病毒/駭客攻擊風險。建議僅在特定測試環境短期停用,一般用戶請保持自動更新開啟。
Win10 更新提示「暫時需要 0.00 MB 空間」?擴充系統盤容量才是正解
Win10 IE 瀏覽器網頁顯示不全?重設 Internet Explorer 設定一鍵修復
Win10 安裝選用功能「圖形工具」失敗 0x800F081F?掛載 ISO 修復來源解決
ThinkPad X61 (2008 年筆電) 安裝 Windows 10 實測:驚人流暢、指紋/熱鍵全支援、記憶體佔用優於 Win7
Windows 10 批次重命名檔案技巧:F2 連續命名與 .bat 腳本加前綴
Windows 10 Build 10130 預覽版圖賞:整合 Skype、強化截圖工具、Project Spartan 瀏覽器
Win8.1 一鍵升級 Win10 圖文教學:下載 ISO → 掛載 → setup.exe → 選擇保留/不保留 → 登入微軟帳號 → 體驗新系統