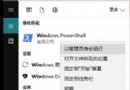
Win 10 強制自動更新讓許多用戶困擾(驅動衝突、頻寬佔用、工作中斷)。提供兩種關閉方案:
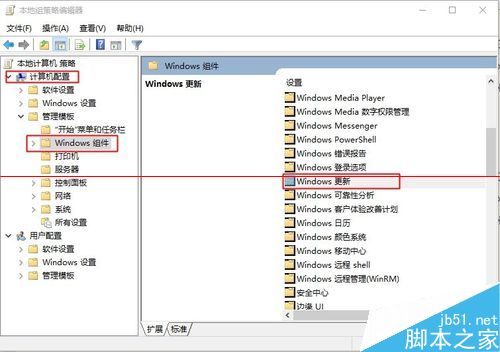
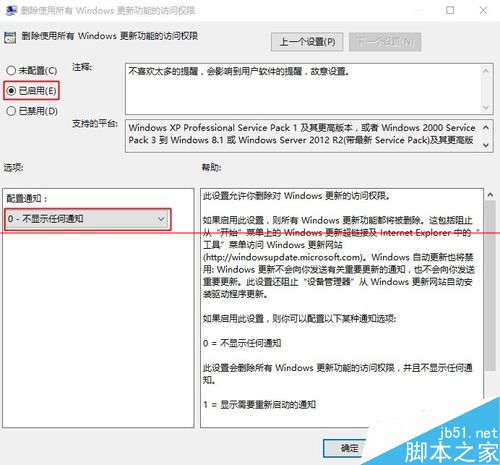
gpedit.msc → 「電腦設定」→「系統管理範本」→「Windows 元件」→「Windows Update」→「設定自動更新」。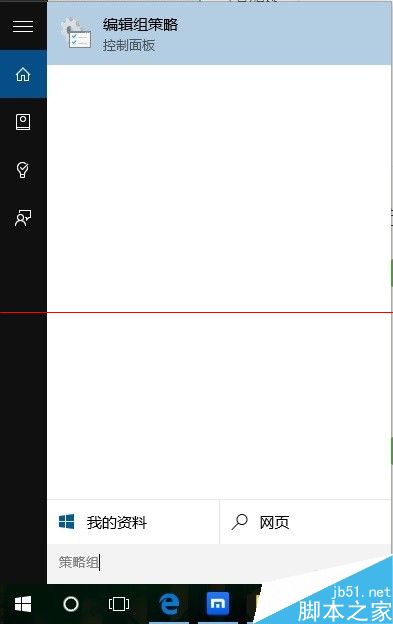
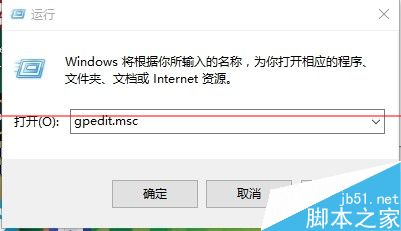
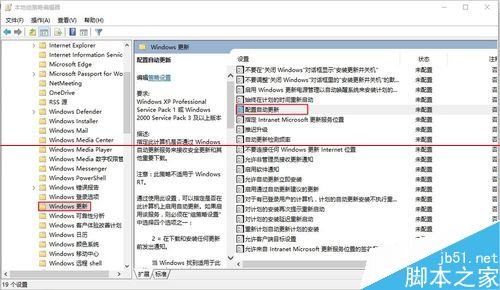
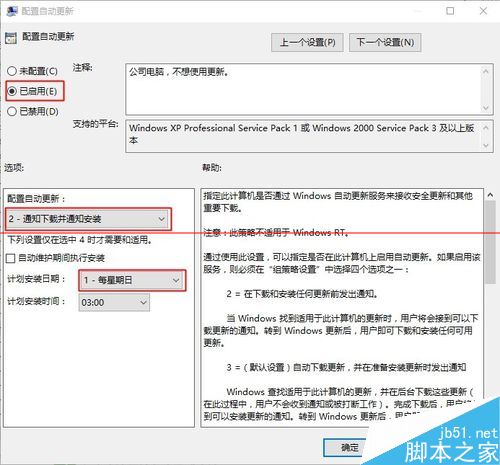
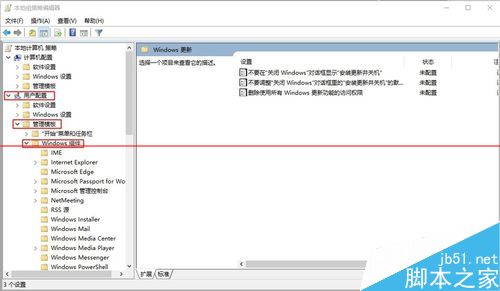
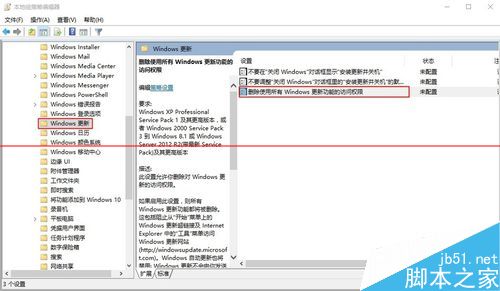
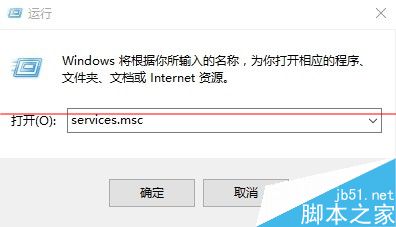
services.msc。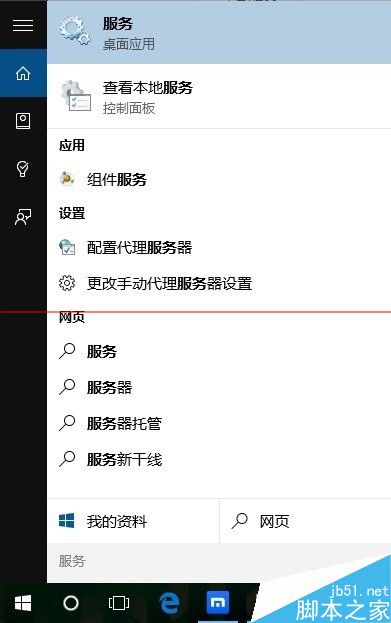
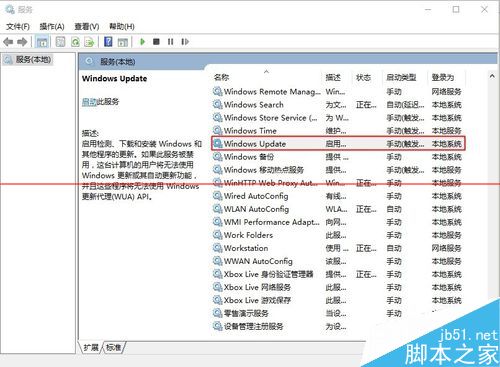
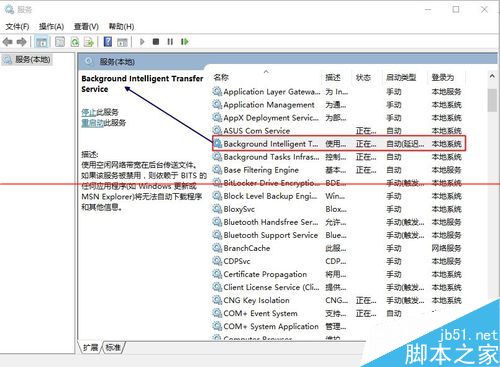
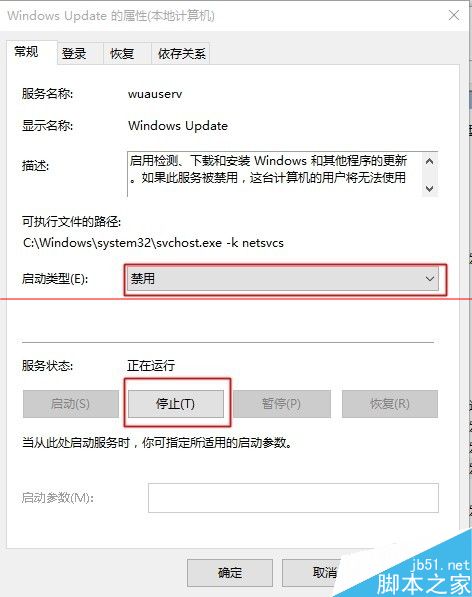
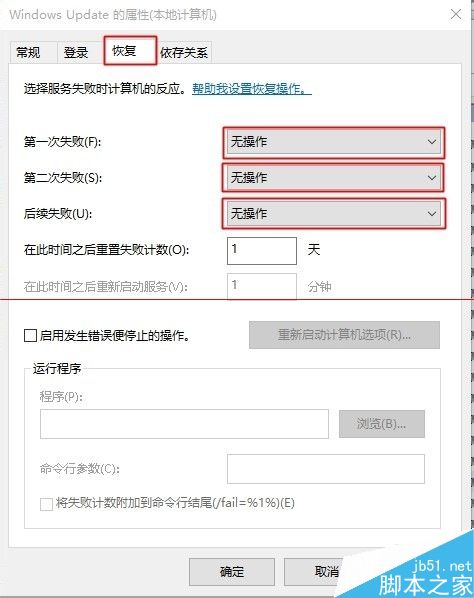
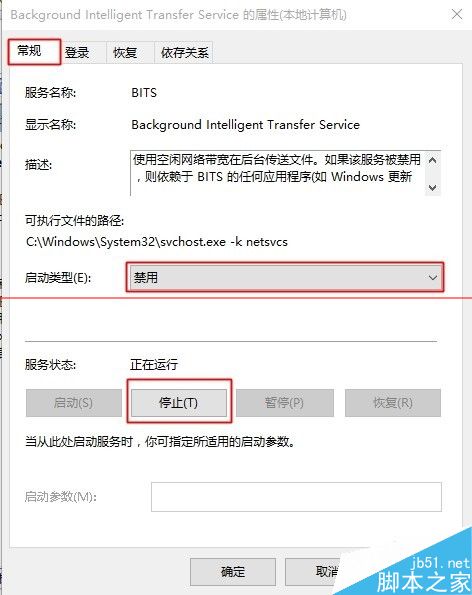
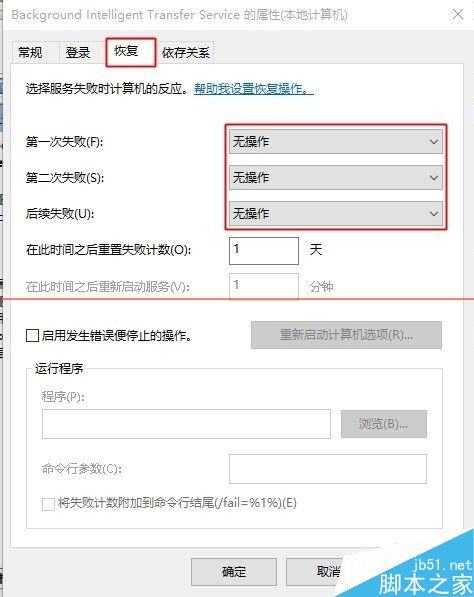
提醒:長期關閉更新有安全風險,建議定期手動檢查重要安全性更新。方案一僅專業版/企業版可用;方案二全版本通用但較暴力。
Windows 10 內建 ZIP 壓縮/解壓縮功能完整教學 (右鍵選單操作)
Windows 10 取消開機密碼自動登入設定教學:netplwiz 指令法
Win10 加入 Windows Insider 計畫取得預覽版更新教學
Windows 10 刪除執行歷史記錄四大法:註冊表清理 RunMRU、任務列屬性關閉最近項目、IE 選項刪除歷史、個人化關閉顯示常用/最近應用
Win 10 升級卡在「引導系統檢測不通過」?BCD 損毀修復與 EasyBCD 重建引導教學
Win10 建立「儲存空間」整合多顆硬碟,資料冗余保護防止硬碟損壞導致資料遺失