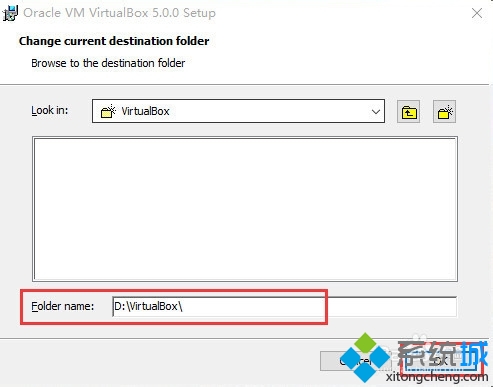
Oracle VirtualBox 官網下載安裝包,建議安裝至非系統盤(如 D:\VirtualBox)避免佔用 C 槽空間,安裝過程需確認網路介面安裝提示。
安裝流程:
- 官網下載最新版 VirtualBox 安裝包
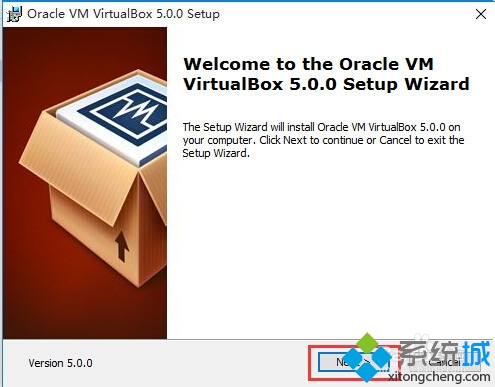
- 雙擊執行 →「Next」
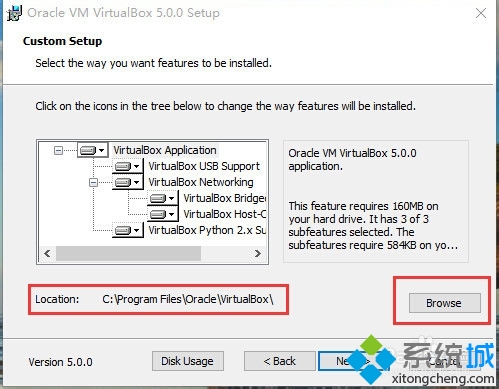
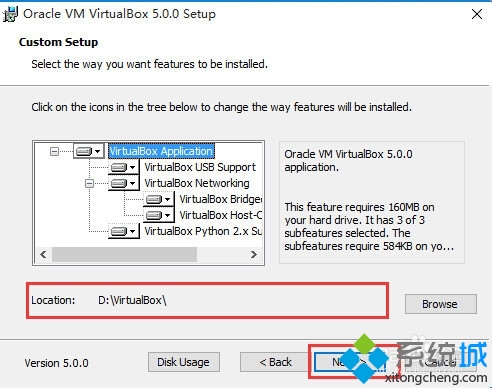
- 「Select the way you want features to be installed」→ 全選預設功能 →「Browse」修改安裝路徑(建議非 C 盤) →「Next」
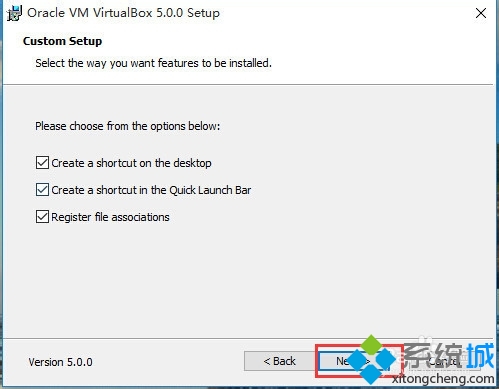
- 「Please choose from the options below」→ 全勾選(捷徑、檔案關聯、網路介面等)→「Next」
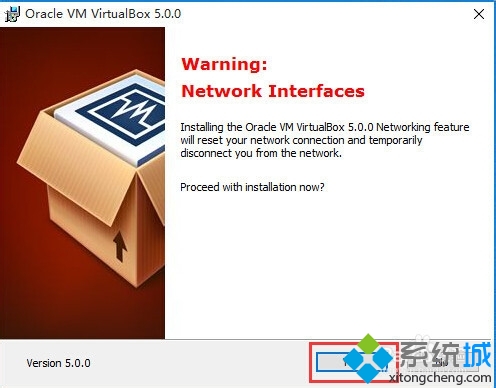
- 關鍵步驟:「Warning: Network Interfaces」→ 會暫時中斷網路連線安裝虛擬網卡 → 必須點選「Yes」繼續
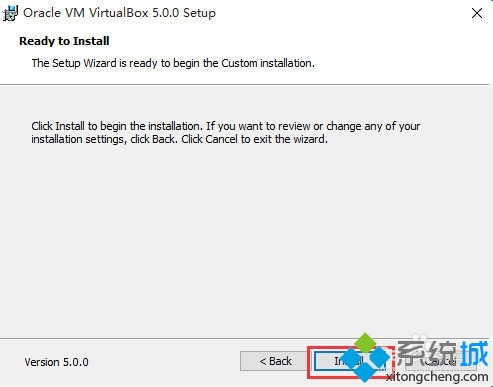
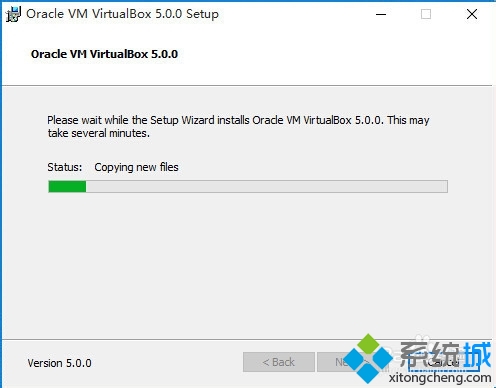
- 「Ready to Install」→「Install」等待進度條完成
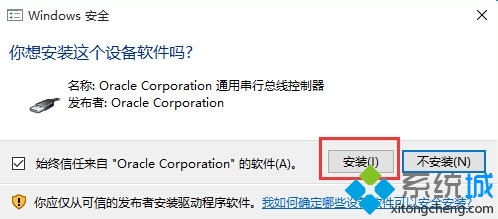
- 彈出「您想要安裝這個裝置軟體嗎?」(Oracle Corporation 通用序列匯流排裝置/虛擬網卡驅動)→ 必須點選「安裝」,否則虛擬網路功能不可用
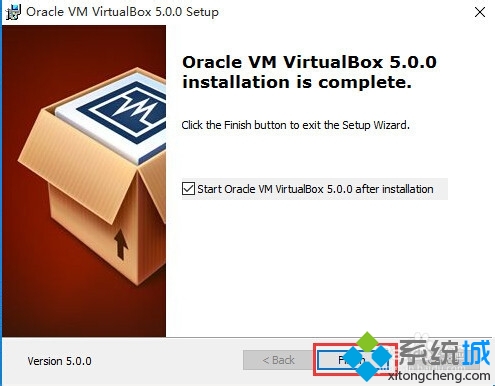
- 「Finish」完成,進入 VirtualBox 主介面建立虛擬機安裝作業系統
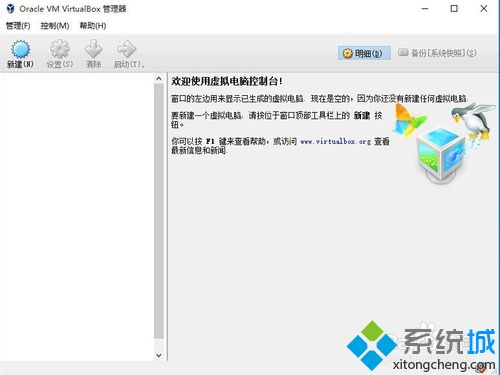
後續: 建立虛擬機時分配記憶體建議 ≤ 實體記憶體 50%,虛擬硬碟選「動態配置」節省空間,安裝客體作業系統後務必安裝「Guest Additions」獲得共用剪貼簿、共用資料夾、無縫模式、3D 加速等增強功能。