AMD 專有驅動 (fglrx) 效能與電源管理優於開源驅動,但更新較慢。本文提供 Ubuntu 兩種安裝路徑:簡單版 透過「軟體與更新」→「附加驅動」勾選 fglrx-updates 自動安裝;手動版 下載官網 .run 檔,安裝建置依賴、產生 .deb 套件、dpkg -i 安裝、amdconfig --initial -f 初始化,確保掌握最新驅動版本。
fglrx-updates(自動追蹤最新版)# 1. 安裝建置依賴
sudo apt-get install build-essential cdbs dh-make dkms execstack dh-modaliases linux-headers-generic
# 64 位元需額外
sudo apt-get install lib32gcc1
# 2. 下載官網 .run 檔,解壓取得 .run,賦予執行權限
# 3. 產生 .deb 套件(以 Ubuntu 13.04 raring 為例)
sudo sh ./amd-catalyst-XXX.run --buildpkg Ubuntu/raring
# 4. 安裝產生的 .deb
sudo dpkg -i fglrx*.deb
# 5. 初始化配置
sudo amdconfig --initial -f
# 6. 重開機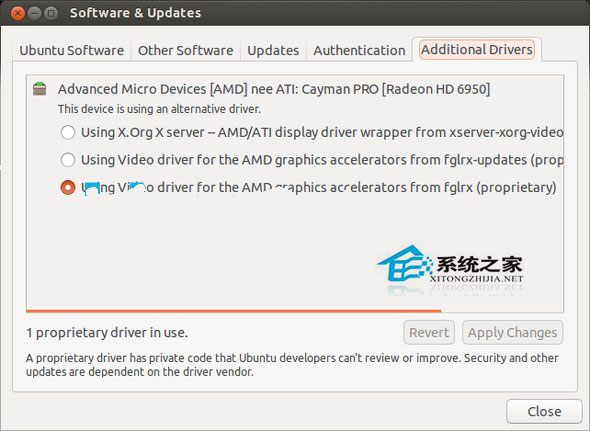
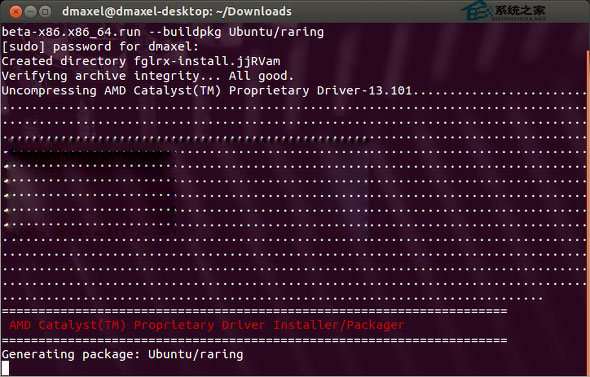
手動版雖較繁瑣,但可立即使用 AMD 最新釋出的驅動版本,適合追求極致 3D 效能的玩家與專業使用者。
Linux 系統效能監控命令精選:top/vmstat/df/ps/free 實戰速查
Ubuntu 軟體中心完整使用指南:搜尋、安裝、移除應用程式
Linux 掛載 ISO 檔案完整指南:mount 指令與圖形化工具 Furius ISO Mount
Linux 路由轉發實現共享上網:IP Forward + iptables/ip route 完整配置
Linux 釋放記憶體緩存命令詳解:drop_caches 參數 1/2/3 差異與定時清理腳本
CentOS 6.4 使用腳本自動停用觸控板:xinput 設定 Device Enabled 完整教學