Windows XP Windows 7 Windows 2003 Windows Vista Windows 綜合教學 Linux 系統教學
Windows 10 Windows 8 Windows 2008 Windows NT Windows Server 電腦軟體教學

Windows XP 字型安裝失敗/無反應解決方案:Fonts 資料夾屬性修復與 desktop.ini 檢查

編輯:XP 系統應用技巧

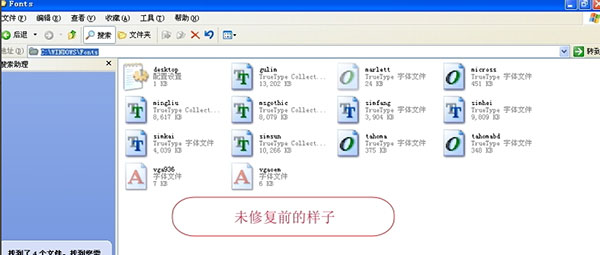
複製字型至 C:\Windows\Fonts 卻無「安裝新字型」提示、字型不出現?通常是 Fonts 資料夾系統屬性遺失或 desktop.ini 遺失導致。兩步驟修復徹底解決。

步驟一:恢復 Fonts 資料夾系統/唯讀/隱藏屬性

  1. Win+R → cmd → Enter。
  2. 輸入:
    cd /d C:\Windows
    attrib +s +h +r Fonts
  3. 檢查 Fonts 資料夾屬性:右鍵 → 內容 →「一般」頁籤 → 應顯示「唯讀」(灰色方塊)、「隱藏」、「系統」三項勾選/灰色。若正常,字型安裝功能已恢復。

步驟二:檢查/重建 desktop.ini

  1. 在「我的電腦」網址列輸入 C:\Windows\Fonts\desktop.ini → Enter。
    若開啟檔案 → 存在。若提示找不到 → 遺失。
  2. 若遺失,建立新 desktop.ini 內容:
[.ShellClassInfo]
UICLSID={BD84B380-8CA2-1069-AB1D-08000948F534}
ConfirmFileOp=0
  1. 存檔後執行:attrib +s +h C:\Windows\Fonts\desktop.ini。
  2. 重新開機或重啟 Explorer,字型安裝功能完全恢復。

驗證

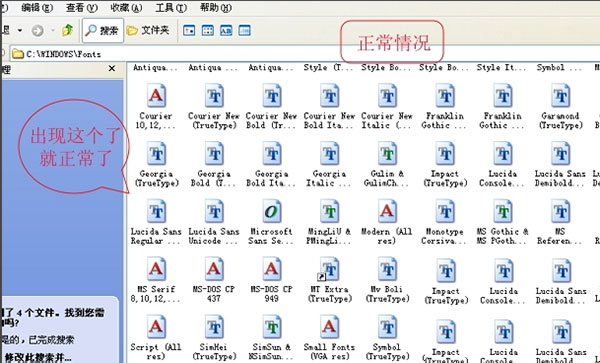
將任意 .ttf/.ttc 複製至 C:\Windows\Fonts,應出現「正在安裝字型...」進度條,完成後在 Word/記事本字型清單出現。

補充:字型管理好習慣

  • 字型檔集中存放於 D:\Fonts,安裝時從該處複製,避免誤刪系統字型。
  • 使用字型管理軟體(NexusFont、FontBase、Suitcase Fusion)啟用/停用字型,不佔用系統資源。
  • 系統預設字型(mingliu、pmingliu、simsun、tahoma、arial 等)勿刪除/移動。

Fonts 資料夾屬性與 desktop.ini 是字型安裝機制的基石。兩步驟修復,讓字型安裝重獲新生,設計師/排版工作者必備急救技能。
Copyright © Windows教程網 All Rights Reserved