demo.comserver.demo.com (192.168.5.1) - 硬體故障無法開機test20031.demo.com (192.168.5.2)客戶端僅能用快取登入,無法存取網域資源。目標:將 FSMO 與 GC 移轉至 DC2。
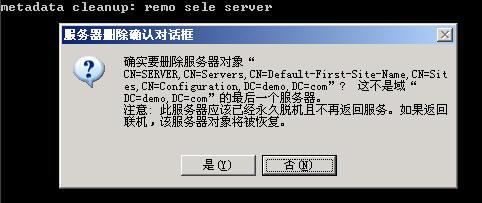
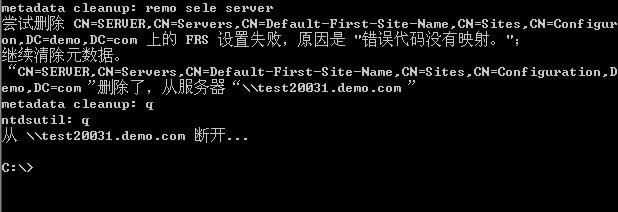
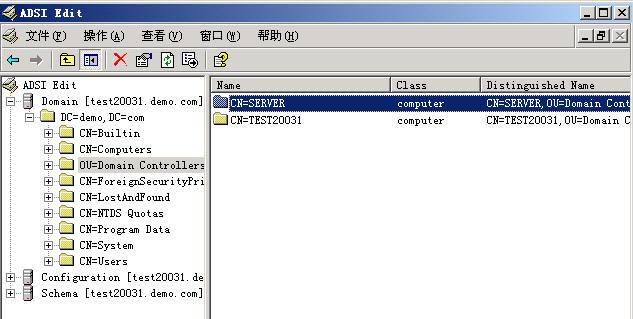
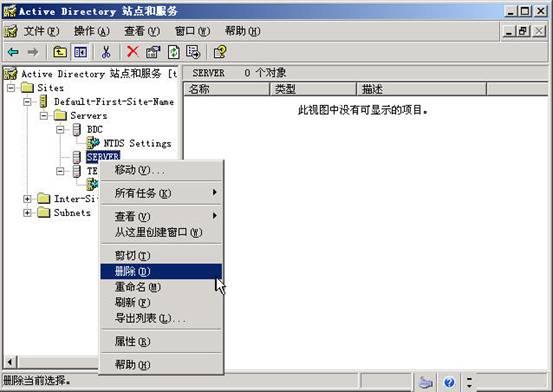
ntdsutil > metadata cleanup > connections > connect to server test20031 > q 返回。select operation target > list sites > 選擇站台 (0) > list servers in site > 選擇 server (0) > q > 確認刪除 > q q 退出。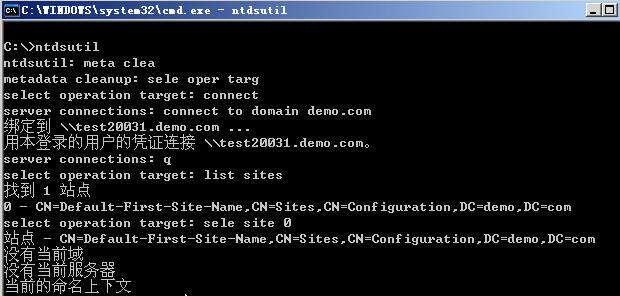
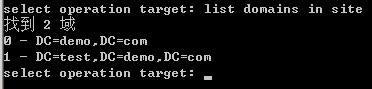
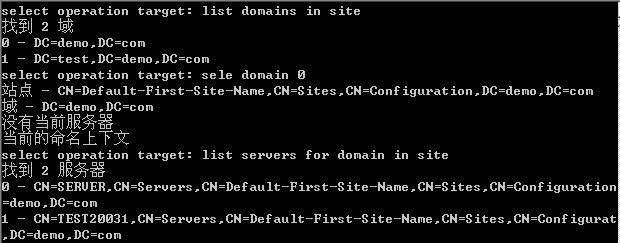
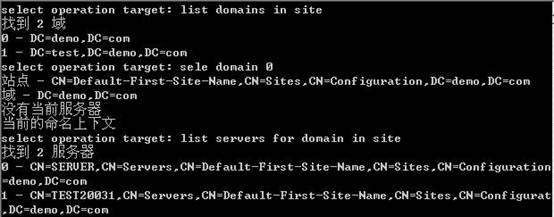
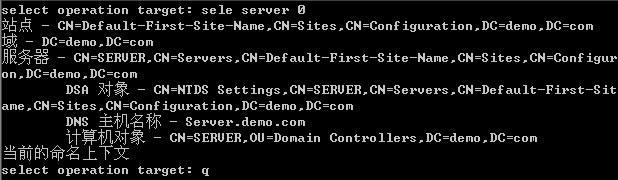

ntdsutil > roles > connections > connect to server test20031 > q。seize (非 transfer) 依序強制取得五大角色:seize PDC > seize RID master > seize Infrastructure master > seize Schema master > seize Naming master。
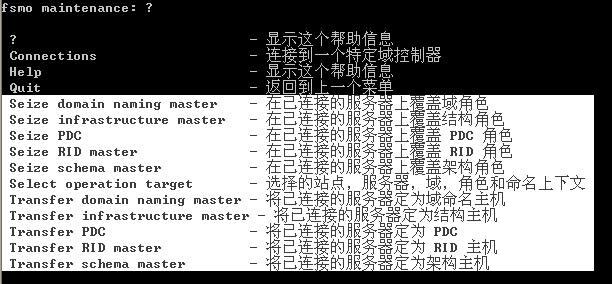
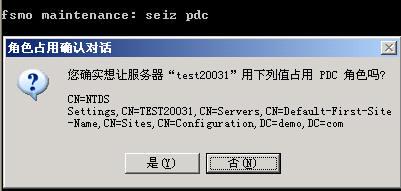
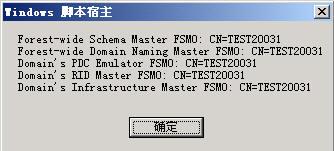
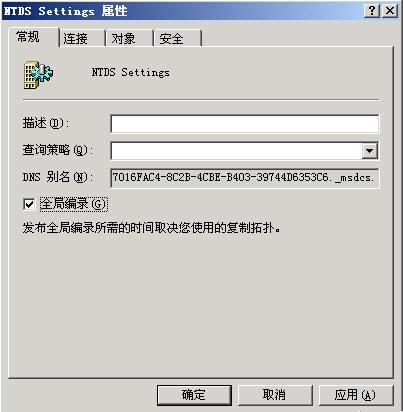
Sites\Default-First-Site-Name\Servers\test20031\NTDS Settings > [內容]。
將用戶端 DNS 伺服器指向 DC2 (192.168.5.2),即可正常登入與存取資源。
歡迎指正:hzswg@sohu.com
Windows 2000 NTFS 效能優化完整指南:叢集大小、MFT 保留區、壓縮權衡與碎片整理
Windows 2000 秘密武器:WinDiff 檔案比較工具 (二) — 圖形介面操作指導與結果解讀
Windows 2000 自動化管理核心技術:WMI 架構深度解析與腳本應用實戰
Windows Server 2003 IIS 6.0 設定 301 重導向完整指南
Windows 2000/XP 進程工作集深度解析:MMSUPPORT 結構、MMWSL 哈希表與 WinDbg 除錯實戰
Windows 2000 開機流程完整解析:從 MBR、NTLDR 到核心初始化的逐階段詳細說明