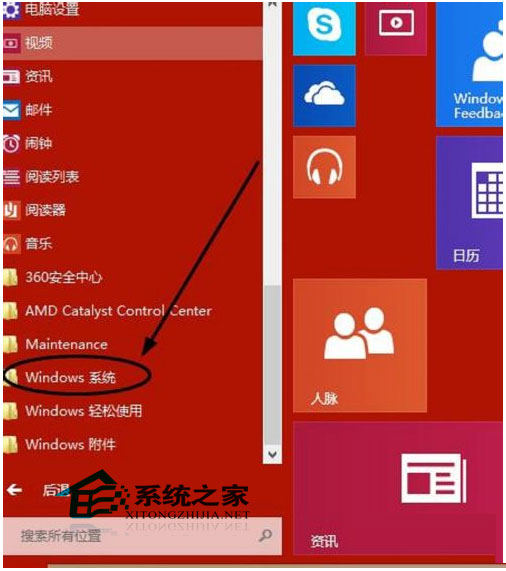
Windows 10 內建 Windows Defender 防毒引擎,提供即時防護、雲端保護、離線掃描等完整功能。在安裝第三方防毒軟體前,可先啟用作為基礎防護。
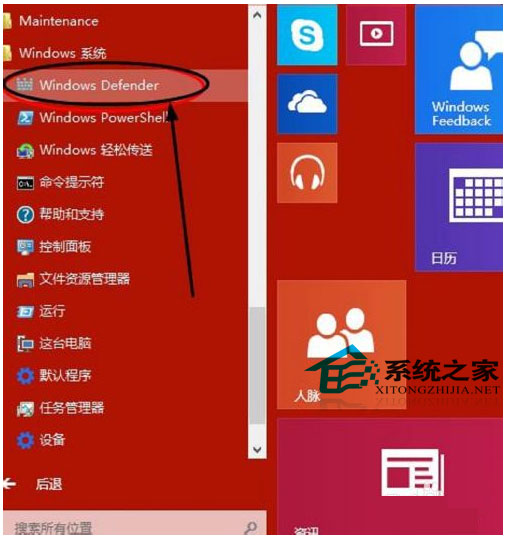
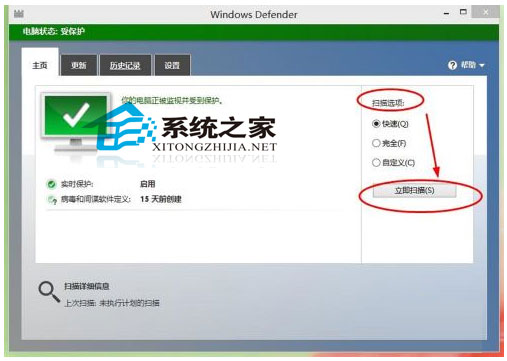
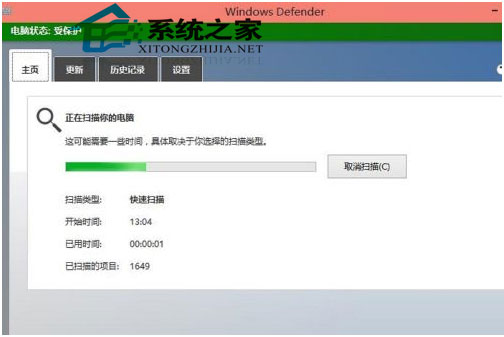
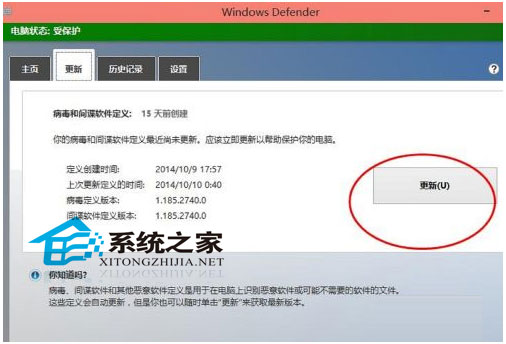
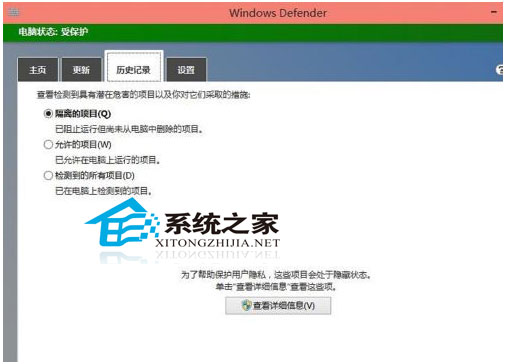
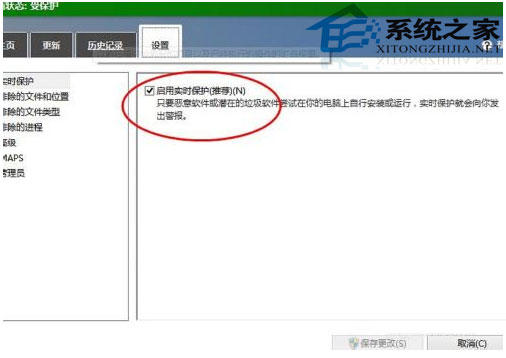
一般家用/辦公環境,Windows Defender + 系統自動更新 + 使用者安全習慣,已提供足夠防護等級。高風險/企業環境建議部署進階端點保護方案 (EDR/XDR)。
Windows 7 內建 AppLocker 功能教學:鎖定特定程式防止他人誤用
Windows 10 步驟記錄器是什麼?錄製操作步驟教學(含圖文與幻燈片模式)
Win10 如何查看正在執行的程式與服務?任務管理器與 services.msc 兩大神器完整教學
Windows 7 常見問題解決大全:藍屏、音訊、網路、捷徑等實用技巧
Win10 使用儲存空間保護資料:多磁碟組建儲存池、自動備份、硬碟損壞也能救資料
Win10 找回 Win7/8 經典「照片檢視器」:註冊表關聯修復法
Win10 预览版 Cortana 小娜最新测试图集:早期版本不稳定、功能受限、UI 重设计后更精致、设置本地化不再跳转 Bing