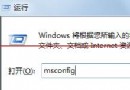
rsync 是 Linux 環境下標準的高效檔案同步/備份工具。Windows 平台透過 cwRsync (Cygwin 移植版) 可獲得同等功能,支援增量傳輸、壓縮、SSH 加密、排程自動化,適合雙向/單向同步、異地備份、伺服器鏡像等場景。
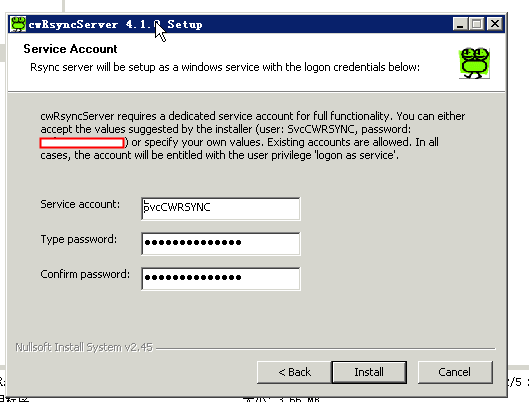
cwRsyncServer_4.1.0_Installer.exe。Svcwrsync),可自訂帳號/密碼。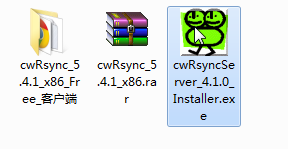
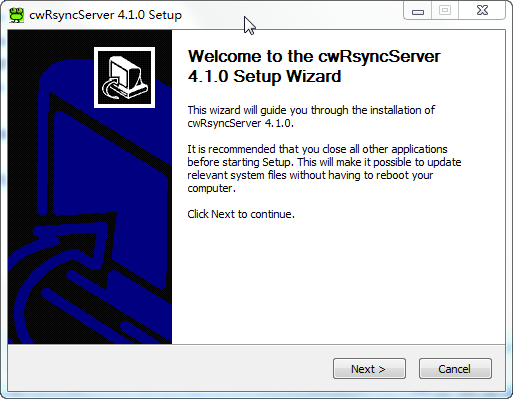
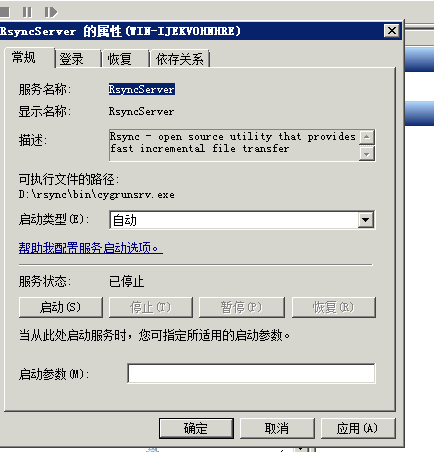
服務管理員 (services.msc) → 找到 RsyncServer → 啟動類型改為 自動 → 啟動服務。
rsyncd.conf 詳細設定安裝目錄下 (或開始選單連結) 找到 rsyncd.conf,使用文字編輯器修改。關鍵參數說明:
use chroot = false
strict modes = false
hosts allow = 192.168.1.0/24  ; 允許的客戶端 IP/網段,* 表全部
max connections = 5
port = 873  ; 或自訂 28950
pid file = /var/run/rsyncd.pid
log file = /cygdrive/f/RsyncLog/rsyncd.log
uid = 0
gid = 0

[cr173com]          ; 模組名稱,客戶端指定此名稱連線
path = /cygdrive/d/cr173/  ; 實際同步資料夾 (Cygwin 路徑格式)
read only = no
list = yes
auth users = backup_user  ; 需驗證的使用者
secrets file = /cygdrive/e/Setting/Rsync/rsync_db.ps  ; 密碼檔路徑
transfer logging = yes
路徑格式注意: Windows 路徑 D:\cr173 → Cygwin 格式 /cygdrive/d/cr173/。
# 格式:username:password 每行一組
backup_user:StrongP@ssw0rd
admin:AnotherPassword
檔案儲存為 rsync_db.ps,**權限極重要**:僅允許服務執行帳號 (Svcwrsync) 讀取,移除其他使用者權限,Windows 下設定「安全性」頁籤 → 僅保留 Svcwrsync 讀取權限並設為擁有者。
Windows 防火牆 → 進階設定 → 輸入規則 → 新增規則 → 連接埠 → TCP → 873 (或自訂 port) → 允許連線 → 套用至域/私人/公用。
telnet 192.168.1.20 873
# 成功回應:@RSYNCD: 31.0
若無 telnet,控制台 → 程式集 → 開啟/關閉 Windows 功能 → 勾選「Telnet 用戶端/伺服器」。
cwRsync\bin 目錄)。telnet 192.168.1.20 873。C:\Program Files\cwRsync\bin\。rsync --port=873 -avz --progress --delete \
/cygdrive/f/dataBackup/ \
192.168.1.20::cr173com \
--password-file=/cygdrive/e/Setting/Rsync/rsync_db.ps
rsync --port=873 -avz --progress --delete \
  192.168.1.20::cr173com \
  /cygdrive/f/dataBackup/ \
  --password-file=/cygdrive/e/Setting/Rsync/rsync_db.ps
關鍵參數: -a 歸檔模式 (保留權限/時間/符號連結) / -v 詳細 / -z 壓縮 / --progress 顯示進度 / --delete 刪除目標端多餘檔案 (鏡像同步) / --password-file 指定密碼檔。
路徑尾斜線差異: src/ 同步目錄*內容*;src 同步目錄*本身* (會在目標建立同名資料夾)。
SyncDB.cmd 包含上述 rsync 指令。taskschd.msc) → 建立基本任務 → 觸發條件 (每日/每週) → 動作:啟動程式 cmd.exe 參數 /c C:\Path\SyncDB.cmd → 完成。| 錯誤訊息 | 原因 | 解決方法 |
|---|---|---|
| @ERROR: invalid uid nobody | rsyncd.conf 缺少 uid/gid | 添加 uid = 0gid = 0 |
| rsync: read error: Connection reset by peer | 服務端 rsync 服務未啟動 | 啟動 RsyncServer 服務 |
| @ERROR: chdir failed | 同步目錄權限不足 | 給 Svcwrsync 帳號目錄讀寫權限 |
| @ERROR: failed to open lock file | 缺少 lock file 設定 | 添加 lock file = rsyncd.lock |
| could not open password file | 密碼檔路徑錯誤/不存在 | 確認 Cygwin 路徑格式 /cygdrive/e/... |
| @ERROR: auth failed on module | 密碼錯誤或密碼檔權限非 600 | 修正密碼/設定檔權限僅服務帳號可讀 |
| password file must not be other-accessible | 密碼檔權限過寬 | Windows 安全性頁籤僅保留服務帳號讀取 |
| @ERROR: chroot failed | 目錄不存在/無權限 | 建立目錄並修正權限 |
| @ERROR: Unknown module | 模組名稱拼寫錯誤 | 核對 rsyncd.conf 模組名稱 |
| No route to host | 防火牆阻擋/主機離線 | 開放 TCP 873/自訂埠、檢查網路 |
cwRsync 將企業級 rsync 功能帶入 Windows,透過服務端/客戶端架構實現高效、安全、自動化的跨平台檔案同步。掌握 rsyncd.conf 關鍵參數、Cygwin 路徑轉換、密碼檔權限管理、防火牆埠開放、排程自動化五大核心環節,即可建立穩健的備份/同步體系。