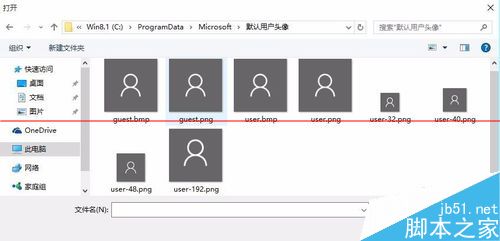
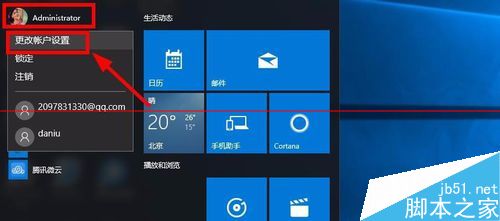
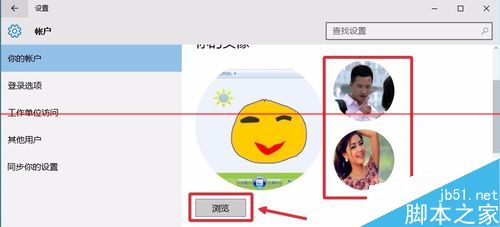
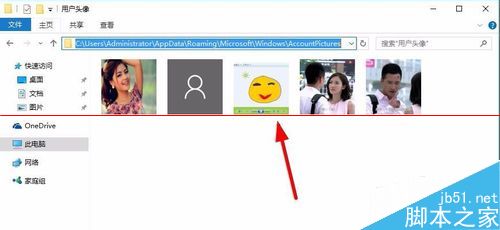
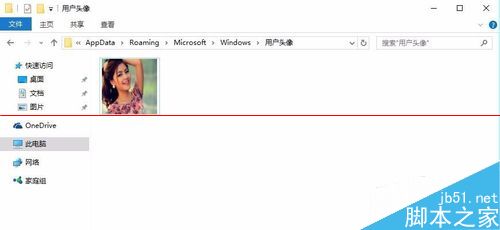
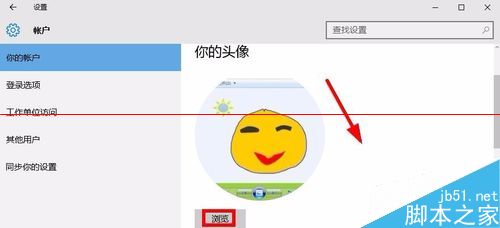
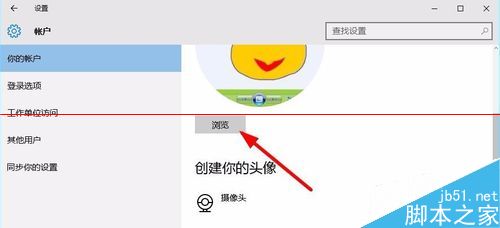
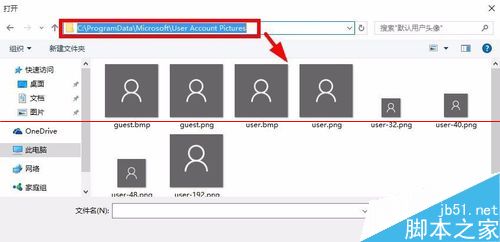
Win10 「設定」→「帳戶」介面無法直接刪除歷史使用過的頭像圖片。實際上這些圖片儲存在特定資料夾,手動刪除檔案並重新選擇預設頭像即可徹底清除。
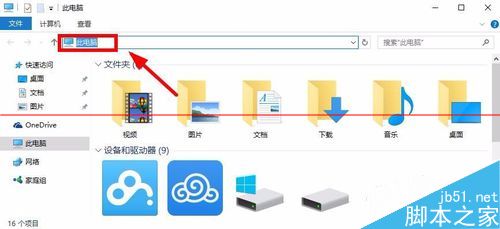
C:\Users\<您的使用者名稱>\AppData\Roaming\Microsoft\Windows\AccountPictures
C:\ProgramData\Microsoft\User Account Pictures
完成後歷史頭像徹底移除,帳戶恢復乾淨預設狀態。
Win10 網頁突然變大怎麼辦?兩招快速調整縮放:Ctrl+滑鼠滾輪、Ctrl+加減號
Win10 SR1 重大修補更新或於 8 月 10 日推送:優先給 Insider 測試
Windows 7 連線隱藏 SSID 無線網路:兩步驟快速設定教學
Win7 程式圖示損壞修復:優化大師圖示修復或重新命名執行檔
Win10 TH2 版 10586.63 曝光,或將以累積更新形式推送
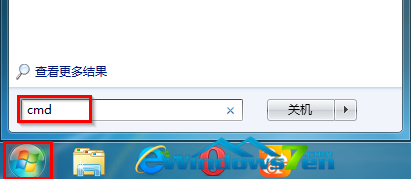
Win10 內建 DISM 工具修復系統映像,掃描、檢查、修復全流程
Win8.1 程式執行閃退 APPCRASH 錯誤?乾淨啟動隔離衝突軟體、清理殘留外掛
Win10 關閉高對比度模式教程:恢復正常色彩顯示