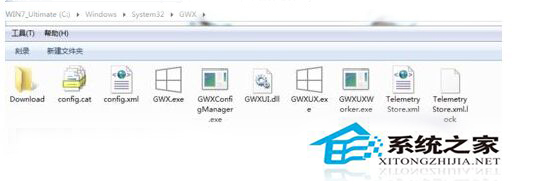
Windows 8.1 系統中「GWX Config Manager」程序 (GWX.exe) 長期佔用 30% 以上 CPU 資源,導致電腦嚴重卡頓、風扇全速運轉。此為 Microsoft 推送的 KB3035583 更新安裝的「取得 Windows 10」升級助手元件。本文說明完整移除與封鎖流程。
GWX Config Manager 簡介
GWX (Get Windows 10) 為 Windows 10 免費升級推廣元件,負責相容性檢查、升級檔案下載、升級排程提醒。同樣出現在 Windows 7 SP1 系統中。
關閉與移除步驟
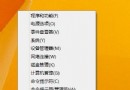
- Win+X → 控制台 → 系統及安全性 → Windows Update。
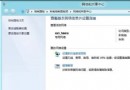
- 「檢視已安裝的更新」。
- 搜尋「KB3035583」→ 右鍵 → 「解除安裝」。
- 重新啟動電腦,GWX.exe 程序即消失,CPU 佔用率恢復正常。
防止自動重新安裝
- Windows Update → 「檢查更新」。
- 「可用更新」中找到 KB3035583 → 右鍵 → 「隱藏更新」。
- 系統將不再主動推送此更新。
影響評估
- 移除不影響系統安全性更新、核心功能、驅動程式更新。
- 僅失去 Windows 10 免費升級自動提醒與準備功能。
- 未來若需升級 Windows 10,可至 Microsoft 官網下載媒體建立工具手動執行。
實測移除後系統明顯順暢,風扇轉速降低,電池續航力改善。不打算近期升級 Win10 的 Win8.1 使用者強烈建議執行。