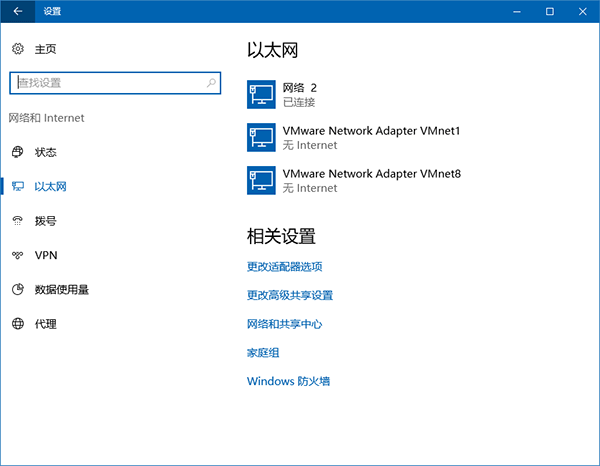
Win10 預設網路連線命名為「網路 1、2、3...」難以辨識。透過登錄修改 ProfileName 可自訂顯示名稱 (如「公司內網」、「家裡 Wi-Fi」),方便多網路環境管理。
regedit 開啟登錄編輯器。HKEY_LOCAL_MACHINE\SOFTWARE\Microsoft\Windows NT\CurrentVersion\NetworkList\Profiles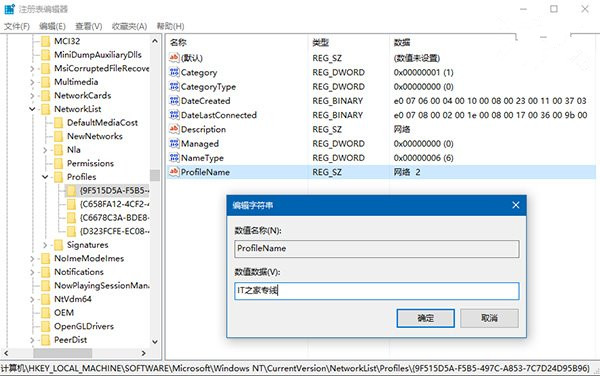
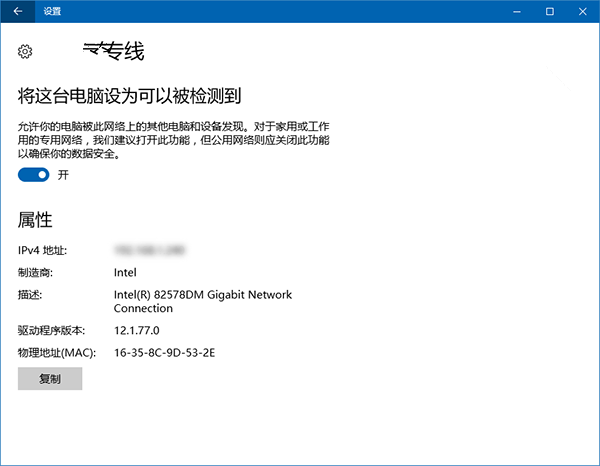
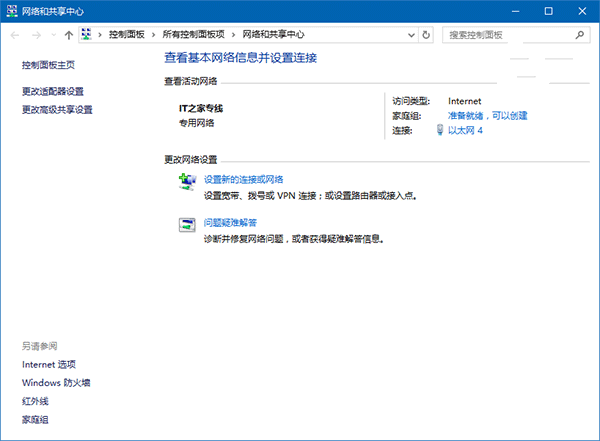
建議將常用有線/無線網路分別命名,長期受用。修改登錄即時生效,無需重開機。
Win10 隱藏版神技五連發:批次命名、記事本記時、免密登入、救回網頁、一鍵截圖
5K 超高解析度壁紙打包下載:11 張 5500x3600 級別極致畫質,百度網盤直達
如何批次調整圖片尺寸?光影魔術手批次處理教學:免費、簡單、適合新手
收不到 Win10 升級推播通知?完整排查與替代升級方案教學
Win10 瀏覽器無法開啟網頁?三大修復方案:TCP 優化、Edge 重置、Windows 功能全開
Windows 無線服務未執行導致無法連 Wi-Fi?啟用 WLAN AutoConfig 服務完整教學