Windows XP Windows 7 Windows 2003 Windows Vista Windows 綜合教學 Linux 系統教學
Windows 10 Windows 8 Windows 2008 Windows NT Windows Server 電腦軟體教學

Windows 10 字體變醜怎麼辦?替換微軟正黑體無微調版 + MacType 完美優化

編輯:Windows 10 系統介紹

許多用戶升級 Windows 10 後發現預設微軟正黑體渲染效果不佳。本文提供進階方案:替換系統字體為無微調版正黑體,並搭配 MacType 實現灰階抗鋸齒,大幅提升字體顯示品質。
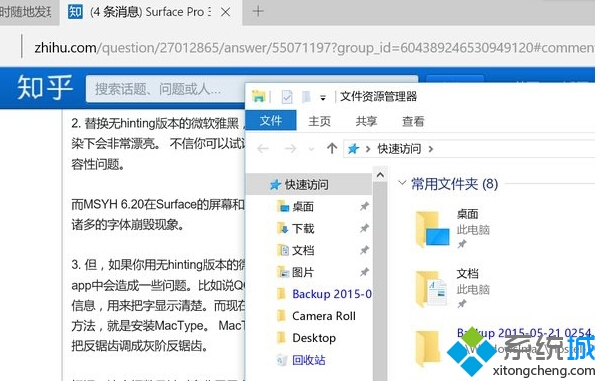
字體優化前後對比

操作流程

  1. 下載無微調版微軟正黑體,重新命名為 MSYH.TTC
  2. 建立資料夾 C:\Font,將字體檔放入
  3. 進入 Windows 復原環境替換系統字體:
    • 設定 → 更新與安全性 → 復原 → 進階啟動 → 立即重新啟動
    • 疑難排解 → 進階選項 → 命令提示字元
    • 輸入指令:copy C:\Font\msyh.ttc C:\Windows\Fonts
    • 輸入 yes 確認覆蓋 → exit 退出 → 選擇繼續 Windows 10
  4. 安裝 MacType 解決傳統應用程式渲染問題
  5. Modern 應用(UWP)會自動使用合適渲染,無需額外設定
  6. 設定 MacType 完全灰階模式:
    • 下載設定檔放入 C:\Program Files (x86)\MacType\ini
    • 用 MacType 內建工具啟用,重新啟動系統

完成後,系統字體將呈現更銳利、舒適的灰階抗鋸齒效果,特別適合長時間閱讀與程式開發環境。

Copyright © Windows教程網 All Rights Reserved