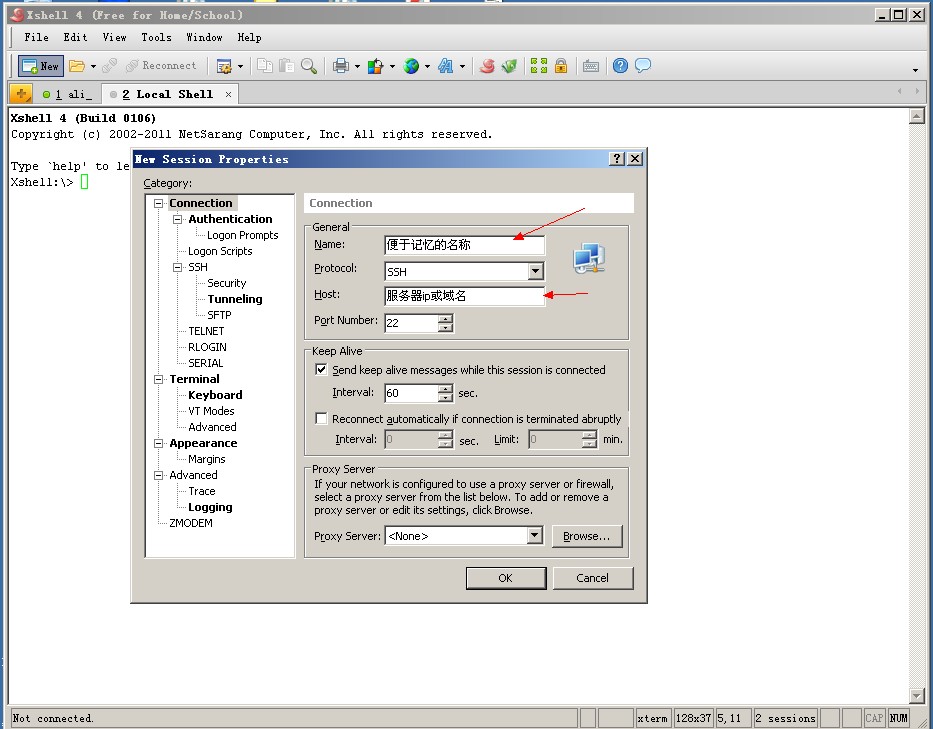
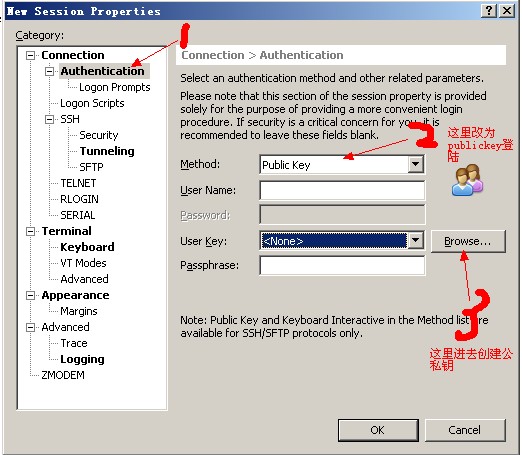
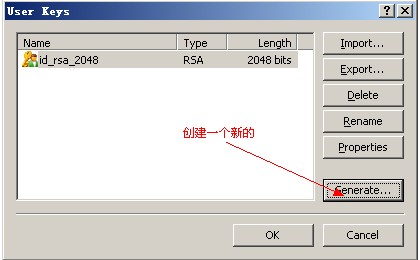
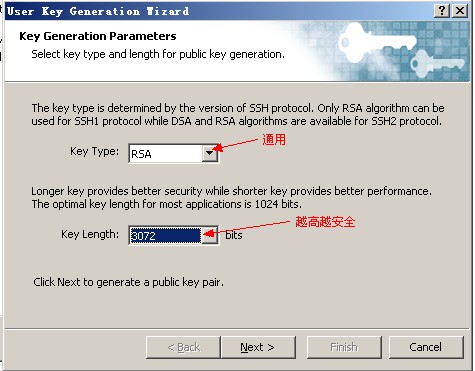
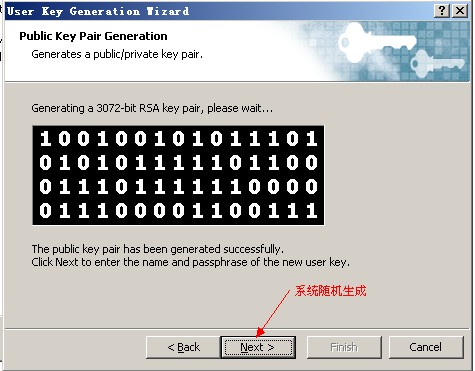
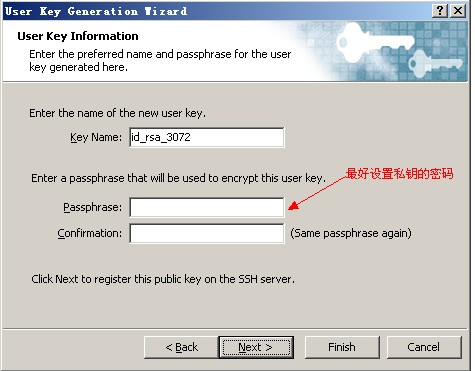
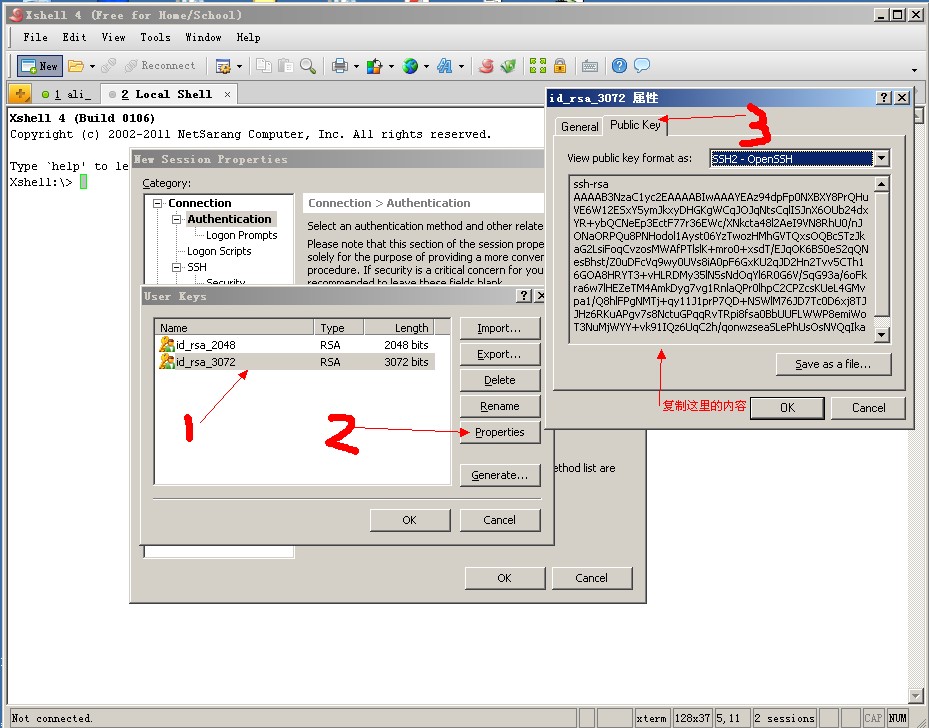
id_rsa_myserver),可設置密碼保護私鑰(推薦)# 1. 切換到目標用戶家目錄
cd ~
# 2. 建立 .ssh 目錄(權限 700)
mkdir -p .ssh
chmod 700 .ssh
cd .ssh
# 3. 創建/編輯 authorized_keys(權限 600)
vi authorized_keys
# 將 Xshell 導出的公鑰內容(ssh-rsa AAAA... user@host)完整貼入,一行一個鑰
# 4. 修正權限(關鍵!權限不對 SSH 拒絕使用)
chmod 600 authorized_keys
chmod 700 ~/.sshvi /etc/ssh/sshd_config
# 確保以下設置:
PubkeyAuthentication yes
AuthorizedKeysFile .ssh/authorized_keys
PasswordAuthentication no # 禁用密碼登錄(建議驗證密鑰無誤後再改)
PermitRootLogin prohibit-password # 僅允許密鑰登錄 root
# 重啟服務
service sshd restart
# 或 systemctl restart sshdAccepted publickey| 現象 | 原因 | 修復 |
|---|---|---|
| Permission denied (publickey) | .ssh 或 authorized_keys 權限過寬 | chmod 700 ~/.ssh && chmod 600 ~/.ssh/authorized_keys |
| 無提示直接斷開 | SELinux 標籤錯誤 | restorecon -Rv ~/.ssh |
| 仍提示輸入密碼 | PasswordAuthentication yes | 改為 no 並重啟 sshd |
原文包含 7 張 Xshell 密鑰生成向導截圖,關鍵步驟已在上文文字化,實操時參考向導即可。