KB3135173 累積更新導致 Win10 瘋狂彈出「重設預設應用失敗」通知,主因為第三方應用阻擋系統重設關聯。可透過登錄檔 NoOpenWith 讓系統「放手」特定副檔名關聯:
HKEY_CURRENT_USER\SOFTWARE\Classes\Local Settings\Software\Microsoft\Windows\CurrentVersion\AppModel\Repository\Packages\Microsoft.Windows.Photos_<版本>_x64__8wekyb3d8bbwe.jpg) 對應的鍵值 (如 AppX43hnxtbyyps62jhe9sqpdzxn1790zetc)。HKEY_CURRENT_USER\SOFTWARE\Classes\<上述鍵值>NoOpenWith,數值留空。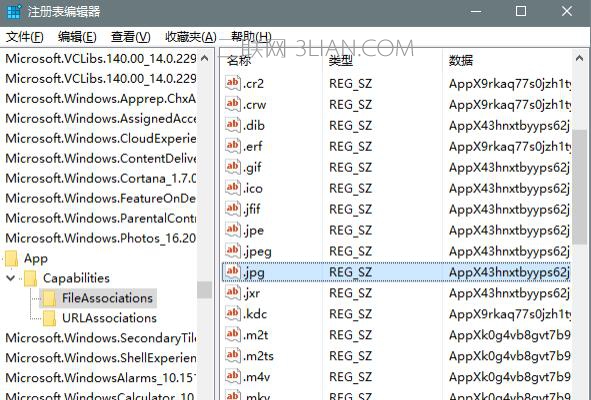
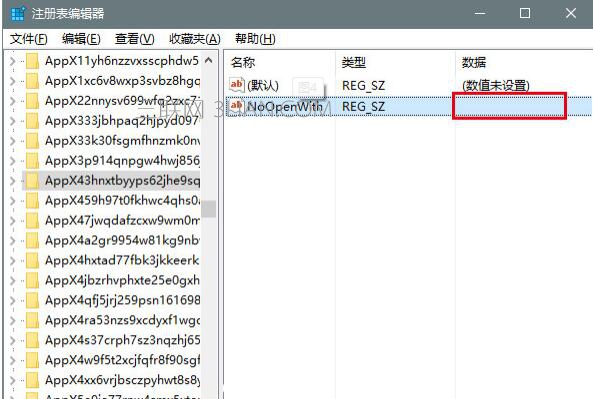
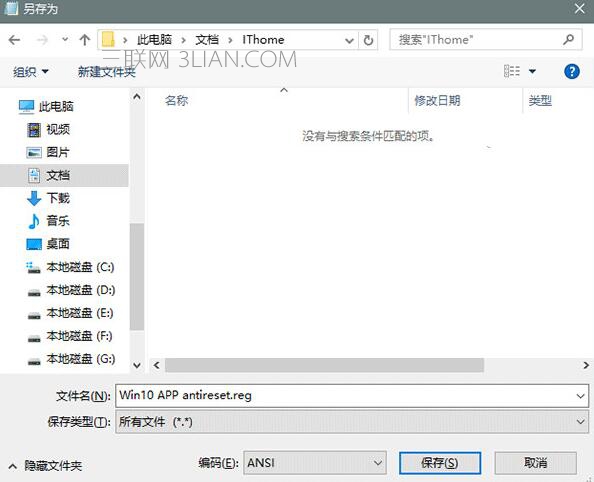
將下列登錄檔內容存為 .reg 檔雙擊匯入 (已測試 Build 10586):
Windows Registry Editor Version 5.00
; Description: Prevents Windows 10 from resetting file associations
; ... by setting NoOpenWith registry value for all the modern apps.
; Tested in Windows 10 Build 10586
; -------------------
; Microsoft.3DBuilder
; -------------------
; File Types: .stl, .3mf, .obj, .wrl, .ply, .fbx, .3ds, .dae, .dxf, .bmp
; ... .jpg
[HKEY_CURRENT_USER\SOFTWARE\Classes\AppXvhc4p7vz4b485xfp46hhk3fq3grkdgjg]
"NoOpenWith"=""
... (其餘內建 App 完整清單見原文) ...
匯入對應的刪除 NoOpenWith 的 .reg 檔 (內容為 "NoOpenWith"=-) 即可恢復系統管理關聯權限。