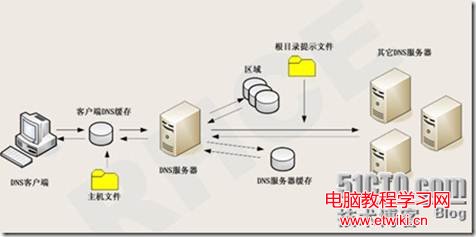
用戶輸入 www.redhat.com → 本機 /etc/hosts → 本機快取 → 遞迴查詢本地 DNS 伺服器 → 若無授權記錄 → 向根域名伺服器 (.) 遞迴查詢 → 逐層解析至授權伺服器 → 回應 IP → 本地 DNS 快取並回應用戶。
yum install -y bind bind-utils
systemctl enable named --now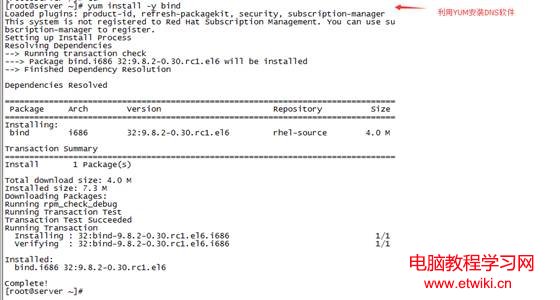
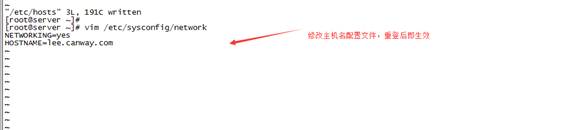
hostnamectl set-hostname ns1.example.com
# /etc/hosts 同步新增
192.168.100.10 ns1.example.com ns1
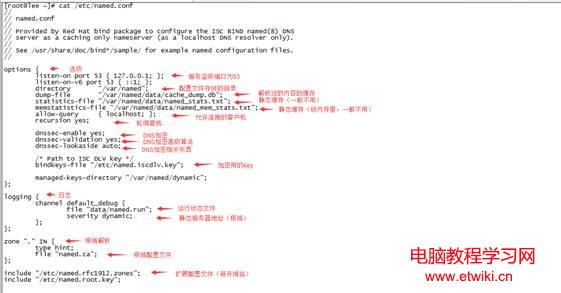
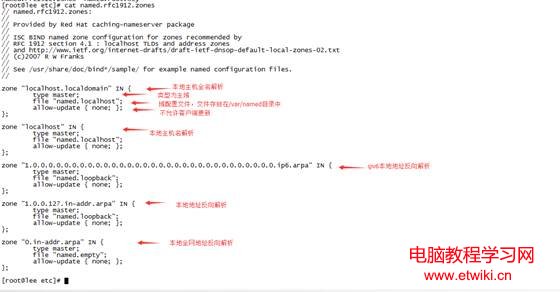

options {
    listen-on port 53 { 127.0.0.1; 192.168.100.10; };
    listen-on-v6 port 53 { ::1; };
    directory "/var/named";
    allow-query { localhost; 192.168.100.0/24; };  # 允許查詢的客戶端網段
    recursion yes;                                 # 提供遞迴查詢
    dnssec-enable yes;
    dnssec-validation yes;
};

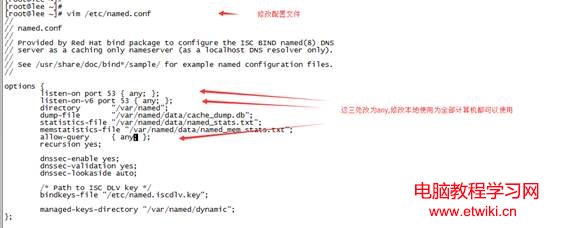
zone "example.com" IN {
    type master;
    file "example.com.zone";
    allow-update { none; };
};

$TTL 86400
@   IN  SOA ns1.example.com. admin.example.com. (
        2023100101 ; Serial
        3600       ; Refresh
        1800       ; Retry
        604800     ; Expire
        86400 )    ; Minimum
@   IN  NS  ns1.example.com.
ns1 IN  A   192.168.100.10
www IN  A   192.168.100.20
mail IN  A   192.168.100.30
@ IN MX 10 mail.example.com.# /etc/named.conf 新增
zone "100.168.192.in-addr.arpa" IN {
type master;
file "192.168.100.zone";
};
# /var/named/192.168.100.zone
$TTL 86400
@ IN SOA ns1.example.com. admin.example.com. ( ... )
@ IN NS ns1.example.com.
10 IN PTR ns1.example.com.
20 IN PTR www.example.com.
30 IN PTR mail.example.com.named-checkconf
named-checkzone example.com /var/named/example.com.zone
systemctl restart named
ss -lntup | grep :53 # 確認監聽dig @192.168.100.10 www.example.com
nslookup mail.example.com 192.168.100.10安全提醒:生產環境務必啟用 DNSSEC、限制遞迴查詢來源 (allow-recursion)、設定 RNDC 金鑰管理、定期更新根區域named.ca。