Win10 內建強大的 Windows Search 索引服務,但常被第三方「優化/加速」軟體誤判為拖慢系統而停用。導致開始選單搜尋、設定搜尋、檔案總管搜尋全失效。本文教你透過服務管理員重新啟用並設為自動啟動,找回搜尋功能。
操作步驟
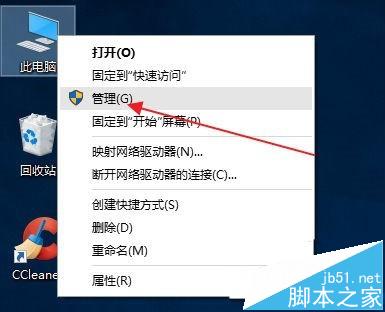
- 「這台電腦」右鍵 → 「管理」。
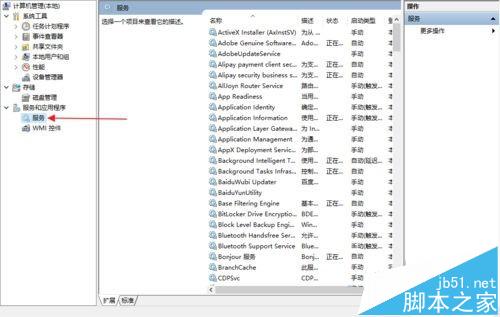
- 左側「服務與應用程式」→ 「服務」。
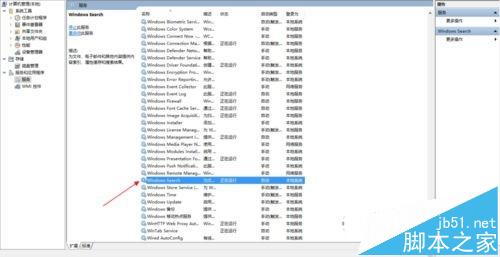
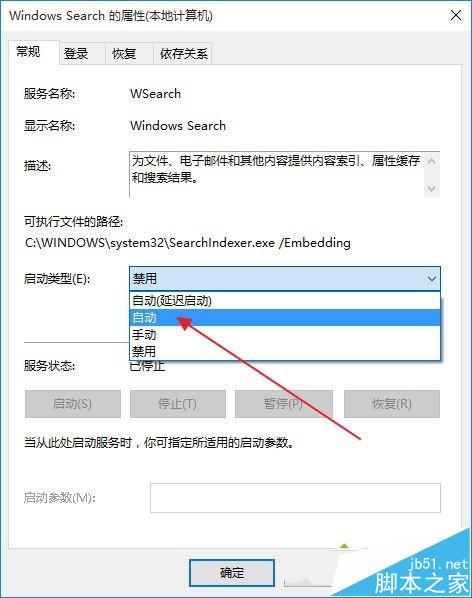
- 找到「Windows Search」→ 雙擊開啟屬性。
- 「啟動類型」改為「自動」→ 「套用」→ 「確定」。
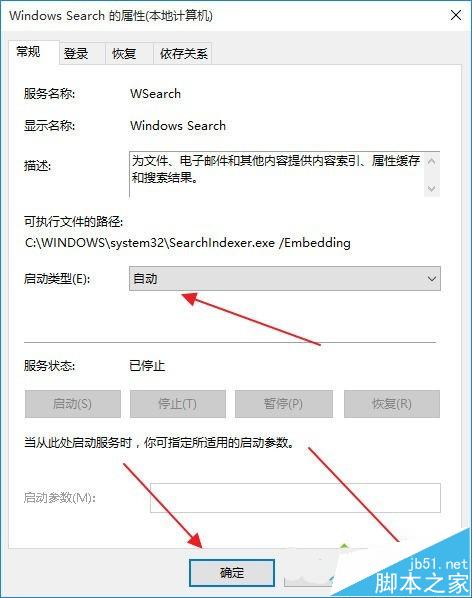
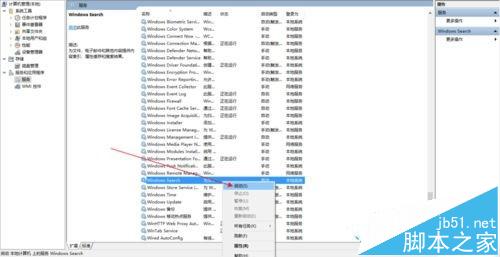
- 再次右鍵「Windows Search」→ 選擇「啟動」。
驗證方式
- 開始選單輸入關鍵字,應即時顯示應用程式、設定、檔案結果。
- 檔案總管右上角搜尋框可正常篩選檔案。
注意事項
- 索引重建需花費時間,視檔案總量而定,期間搜尋可能不完整。
- 若仍異常,可至「索引選項」→「進階」→「重建」索引資料庫。
- 建議卸載導致問題的第三方優化軟體,避免再次停用服務。
相關推薦
- Win10 任務列搜尋框如何隱藏?
- Win10 任務列如何使用地址搜尋框工具?
- Win10 Cortana 隱藏後如何搜尋?