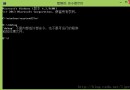
Windows 7/8.1 系統右下角出現 Windows 10 升級提示圖示 (GWX),若不想升級或不想被打擾,可徹底移除 GWX 元件。
移除步驟
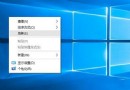
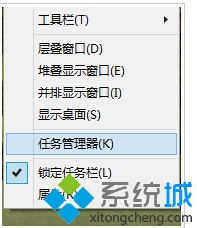
- 右鍵工作列 →「工作管理員」→「詳細資料」/「背景程序」中找到 GWX (圖示為 Windows 旗幟)。
- 右鍵 GWX →「開啟檔案位置」。

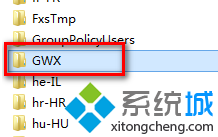
- 在開啟的資料夾中返回上層,定位到 GWX 資料夾。
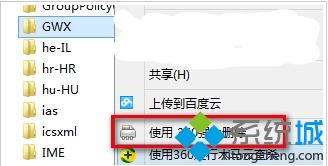
- 右鍵 GWX 資料夾 → 使用防毒軟體「強力刪除」 (因需 TrustedInstaller 權限,普通刪除會失敗)。
注意:僅刪除 GWX.exe 可保留資料夾結構但停用升級提示;徹底刪除資料夾可永久移除。若日後想升級,可重新下載媒體建立工具手動升級。