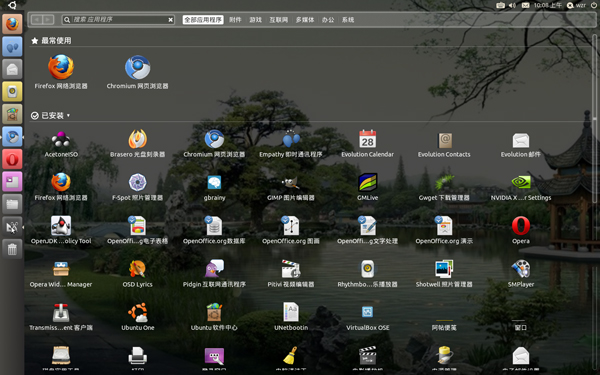
虛擬機安裝 Ubuntu 後,登入畫面解析度過高導致須拖動視窗才能輸入帳密,調整螢幕解析度無效。
安裝 VMware Tools 後,/etc/X11/xorg.conf 被修改,Section "Screen" 新增多組 SubSection "Display",列出不同色深下的解析度模式,導致 X Server 啟動時選擇最高解析度。
sudo cp /etc/X11/xorg.conf /etc/X11/xorg.conf.bak/etc/X11/xorg.conf,在 Section "Screen" 中移除多餘的 SubSection "Display" 區塊,保留所需解析度(如 1024x768)與色深設定。sudo reboot同樣因 VMware Tools 修改 Section "InputDevice" 中 Option "Protocol" 從 "ImPS/2" 改為 "ps/2"。將其改回 "ImPS/2" 並重啟即可恢復滾輪功能。
手動精簡 xorg.conf 中的 Display 子區段,並修正滑鼠協定,即可解決登入畫面解析度異常與滾輪失效問題。