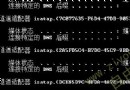
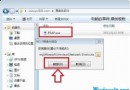
Win10 筆電內建無線網卡 + 外接 USB 無線網卡時,系統預設使用內建網卡,導致 USB 網卡無法上網。解法:裝置管理員 → 網路介面卡 → 右鍵內建無線網卡 → 「停用裝置」,即可強制使用 USB 無線網卡。前提是 USB 網卡驅動已正確安裝且未被停用。
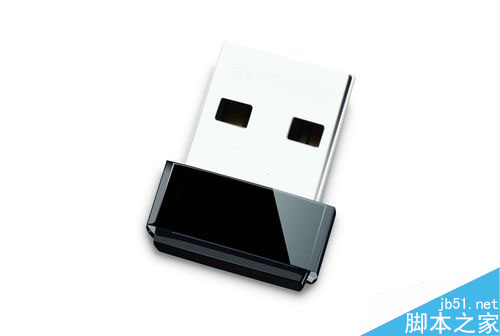
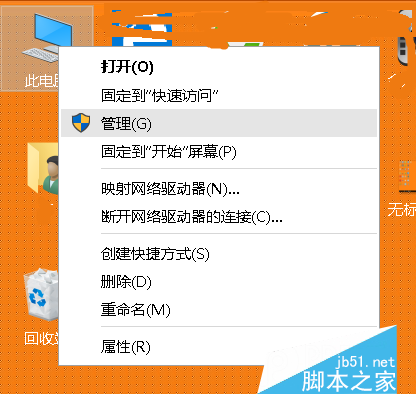
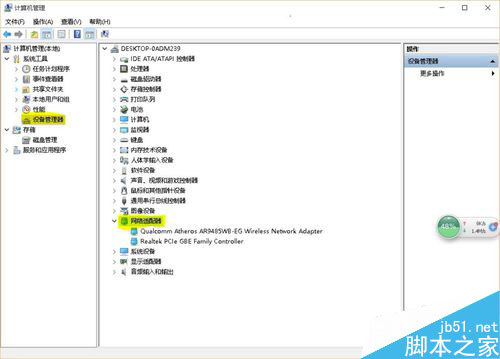
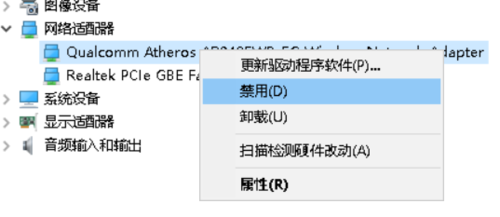
提醒:若驅動安裝成功但仍無法上網,請檢查 USB 網卡是否在裝置管理員中顯示「已停用」,需啟用它。台式機無內建網卡則無此問題。
推薦下載:萬能無線網卡驅動 for Win7/8 32/64位、Realtek 瑞昱 Win10 通用網卡驅動官方版。
Win10 如何開啟視窗動畫慢動作效果?登錄表修改啟用 Shift 鍵慢鏡頭模式
微軟大規模強制升級 Win7/8.1 到 Win10,用戶毫無感覺硬碟 RAID 陣列受損
Windows 7 睡眠模式下持續下載:啟用「離開模式」完整教學
Windows 7 設定僅允許指定 USB 隨身碟讀取 群組原則實現 USB 白名單
用 iTunes 更新 iOS 10 遭 Win10 自動更新強制重開機導致 iPhone 變磚:網友慘痛經驗警示
百度 Win10 直通車下載的安裝檔在哪?預設儲存於非系統盤、容量最大且大於 5GB 的磁碟分區