安裝 Ubuntu 後發現預設解析度過低(例如 1280x1024 的螢幕僅顯示 800x600)是常見情況。重裝系統後通常都需手動調整解析度與重新整理率以符合顯示器規格。本文詳細說明如何透過指令列完成設定。
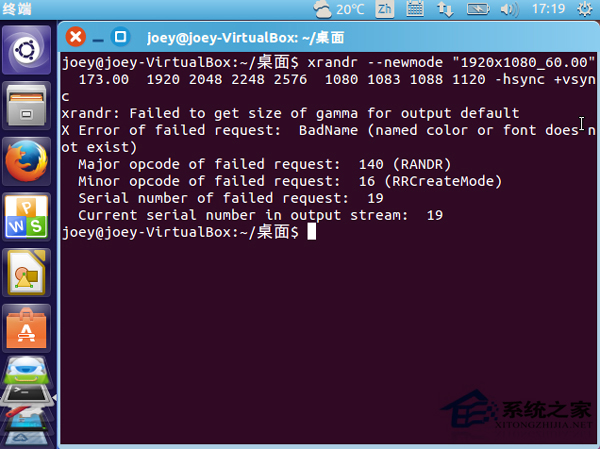
開啟終端機,輸入 cvt <水平解析度> <垂直解析度> <重新整理率>。例如欲設定 1280x1024 @ 75Hz:
cvt 1280 1024 75輸出範例:
# 1280x1024 74.90 Hz (CVT 1.31M4) hsync: 80.30 kHz; pclk: 138.75 MHz
Modeline "1280x1024_75.00"  138.75  1280 1368 1504 1728  1024 1027 1034 1072 -hsync +vsync
複製 Modeline 後的完整參數行(紅字部分)。
執行 sudo gedit /etc/X11/xorg.conf(若檔案不存在會自動建立),加入以下區塊:
Section "Monitor"
    Identifier "Configured Monitor"
    Modeline "1280x1024_75.00"  138.75  1280 1368 1504 1728  1024 1027 1034 1072 -hsync +vsync
    Option "PreferredMode" "1280x1024_75.00"
EndSection

Section "Screen"
    Identifier "Default Screen"
    Monitor "Configured Monitor"
    Device "Configured Video Device"
EndSection

Section "Device"
    Identifier "Configured Video Device"
EndSection
將上述 Modeline 參數與 PreferredMode 替換為步驟 1 取得的數值。儲存後重新開機即可生效。
核心關鍵在於 cvt 指令產生的 Modelline,若系統缺少 xorg.conf,建立後填入上述內容即可解決解析度與重新整理率不符的問題。